Whether you're trying to save your joints from an old golf mat or making a DIY hitting mat, we'll walk you through how to make or repair your golf hitting mat.

Once you start playing on a golf simulator - kinda like that morning coffee - it’s hard to stay away.
If you just can’t stop playing on your home golf simulator, you might start seeing some wear on your hitting mat over time. Depending on how much ground you sweep (or chunk) during your swing, your hitting mat might wear down faster than others.
Then the thought hits you: “I’m going to need to buy a whole new hitting mat pretty soon!” Not if Carl’s Place has anything to say about it!
Whether you're trying to save your joints from an old golf mat or making a DIY hitting mat, we'll walk you through how to make or repair your golf hitting mat.
Carl's Place offers three hitting strips that are approximately 1.75 inches tall, serving as top-quality replacements for worn-out hitting mats. These strips provide a forgiving surface for your joints, with the foam option offering a softer feel compared to traditional hitting mats, while the gel strip delivers a realistic golf course experience.
Some golfers might not even originally invest in a hitting mat; instead, they will insert a hitting strip into their golf simulator turf and puzzle gym mats underneath. See the photo above thanks to Carl's Place customer DJ.
BENEFITS OF A HITTING STRIP
There are many benefits of using a hitting strip, especially for how simple the installation process is.
-
Replaceability: You create an area that can be replaced when worn down, instead of having to replace the entire mat.
-
Hitting zone: If you are having trouble knowing where you should be hitting from so your launch monitor will get a good read, a hitting strip looks a lot better than some tape around the area.
-
Your joints will thank you: If you chunk a shot on some hitting mats, your joints might feel it immediately or even days later. If you chunk a shot on our foam hitting strip, it shouldn’t hurt.
-
Very real: If you chunk a shot on the gel strip, it will punish your game by taking distance off that shot.
HOW TO REPAIR A GOLF A HITTING MAT
Let’s get this out there right away: a hitting strip by itself is not going to be ideal. Nobody likes to hit a golf ball when it's above or below your feet, so you won’t want to set it up that way in your simulator.
Typically, hitting strips need to be set into the hitting mat or floor that the golfer is standing on so that the golfer is hitting off the same level surface as they are standing on.
MEASURE OR TRACE HITTING STRIP
Whether you’re wanting to install the hitting strip into your hitting mat or into your turf and gym mat flooring, you’ll want to measure or trace the area you will be cutting out. In our upcoming example photos, we were installing a hitting strip into a Carl’s Place 4'x9' Hitting Mat.
NOTE: These photos were taken using Carl's original hitting mat and divot strip. The original hitting mat did not have the pre-cut strip section as it does currently, and our strips are now manufactured differently. Check the most up-to-date images on the product pages.
We went with the tracing route. First, we flipped the hitting mat over and placed the hitting strip upside down onto the backside of the hitting mat.
You’ll need to visualize the placement upside down now. Make sure the hitting mat goes the long way across your golf simulator space. And the divot strip goes perpendicular to the screen, in line with your swing.

Then we marked the four corners with a sharpie.
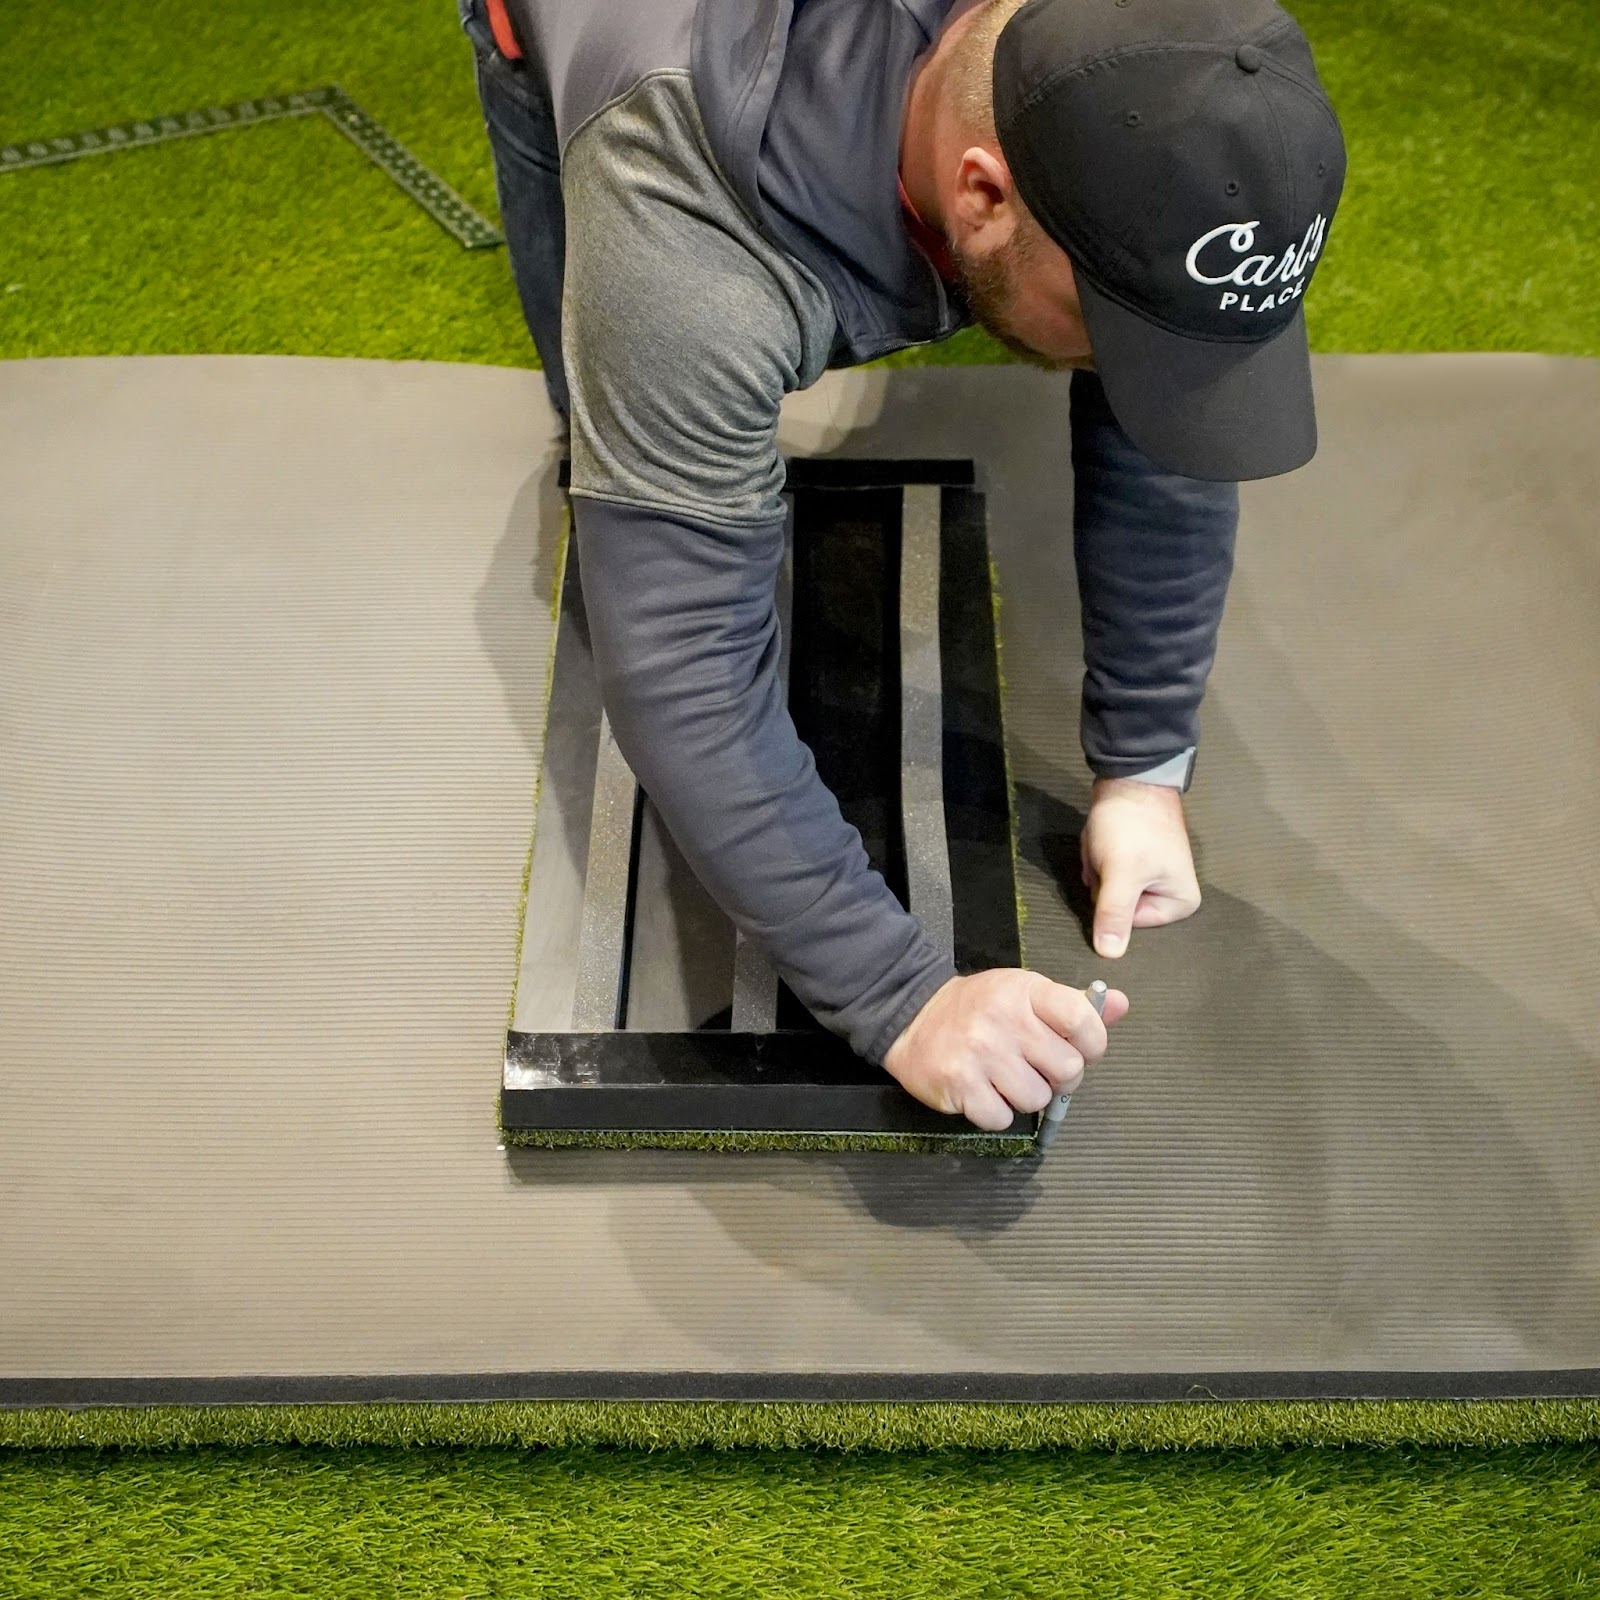
We connected the corners with a straightedge to make sure the lines were nearly perfect.


If you want to go the measuring route, the hitting strip is 12 inches wide by 30 inches long. Just be sure that your corners are perfect right angles!
CUT OUT THE WORN HITTING AREA
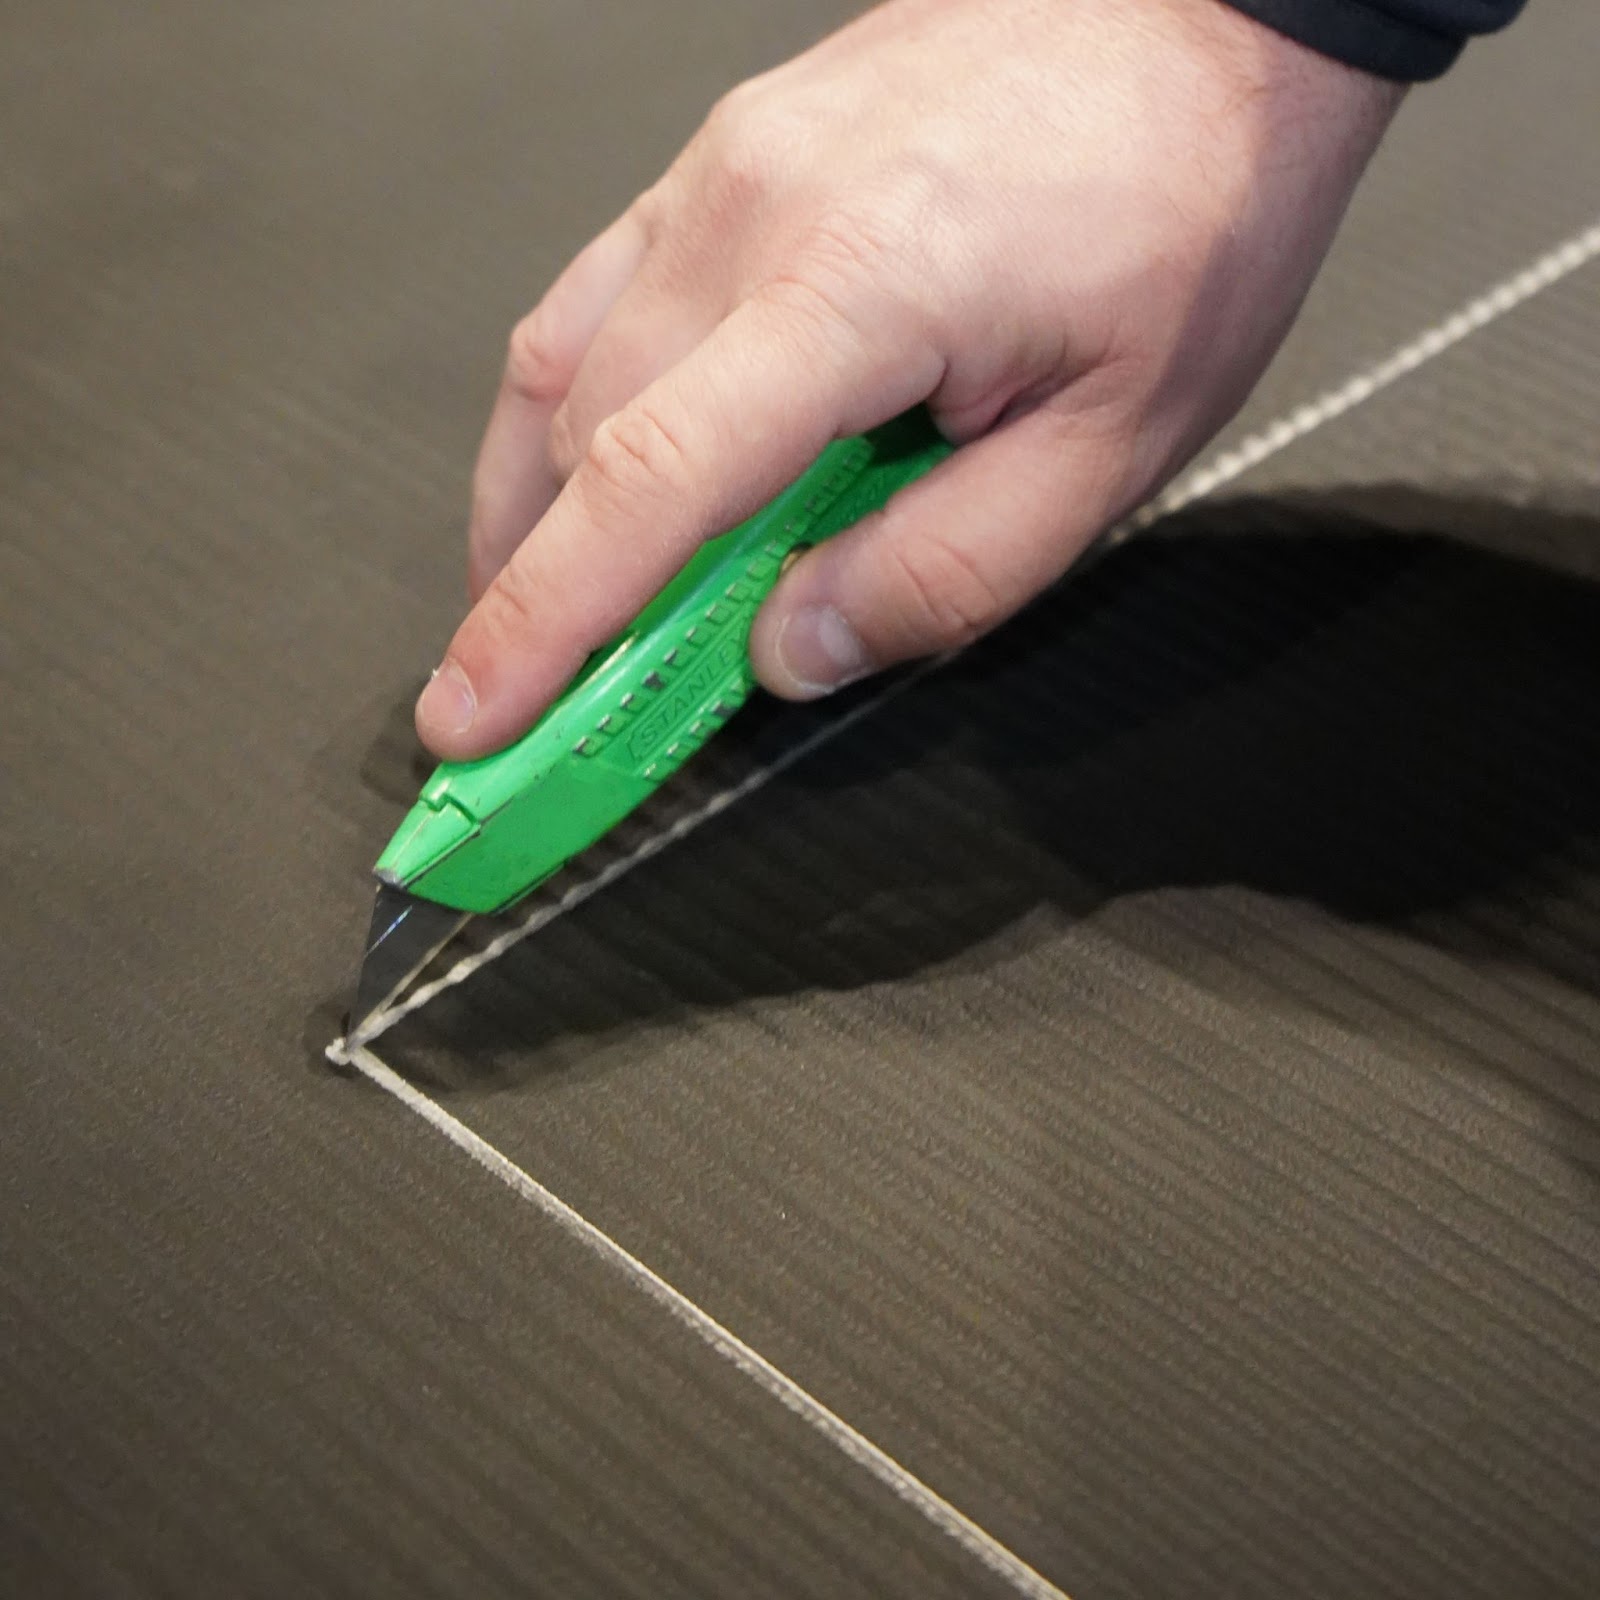
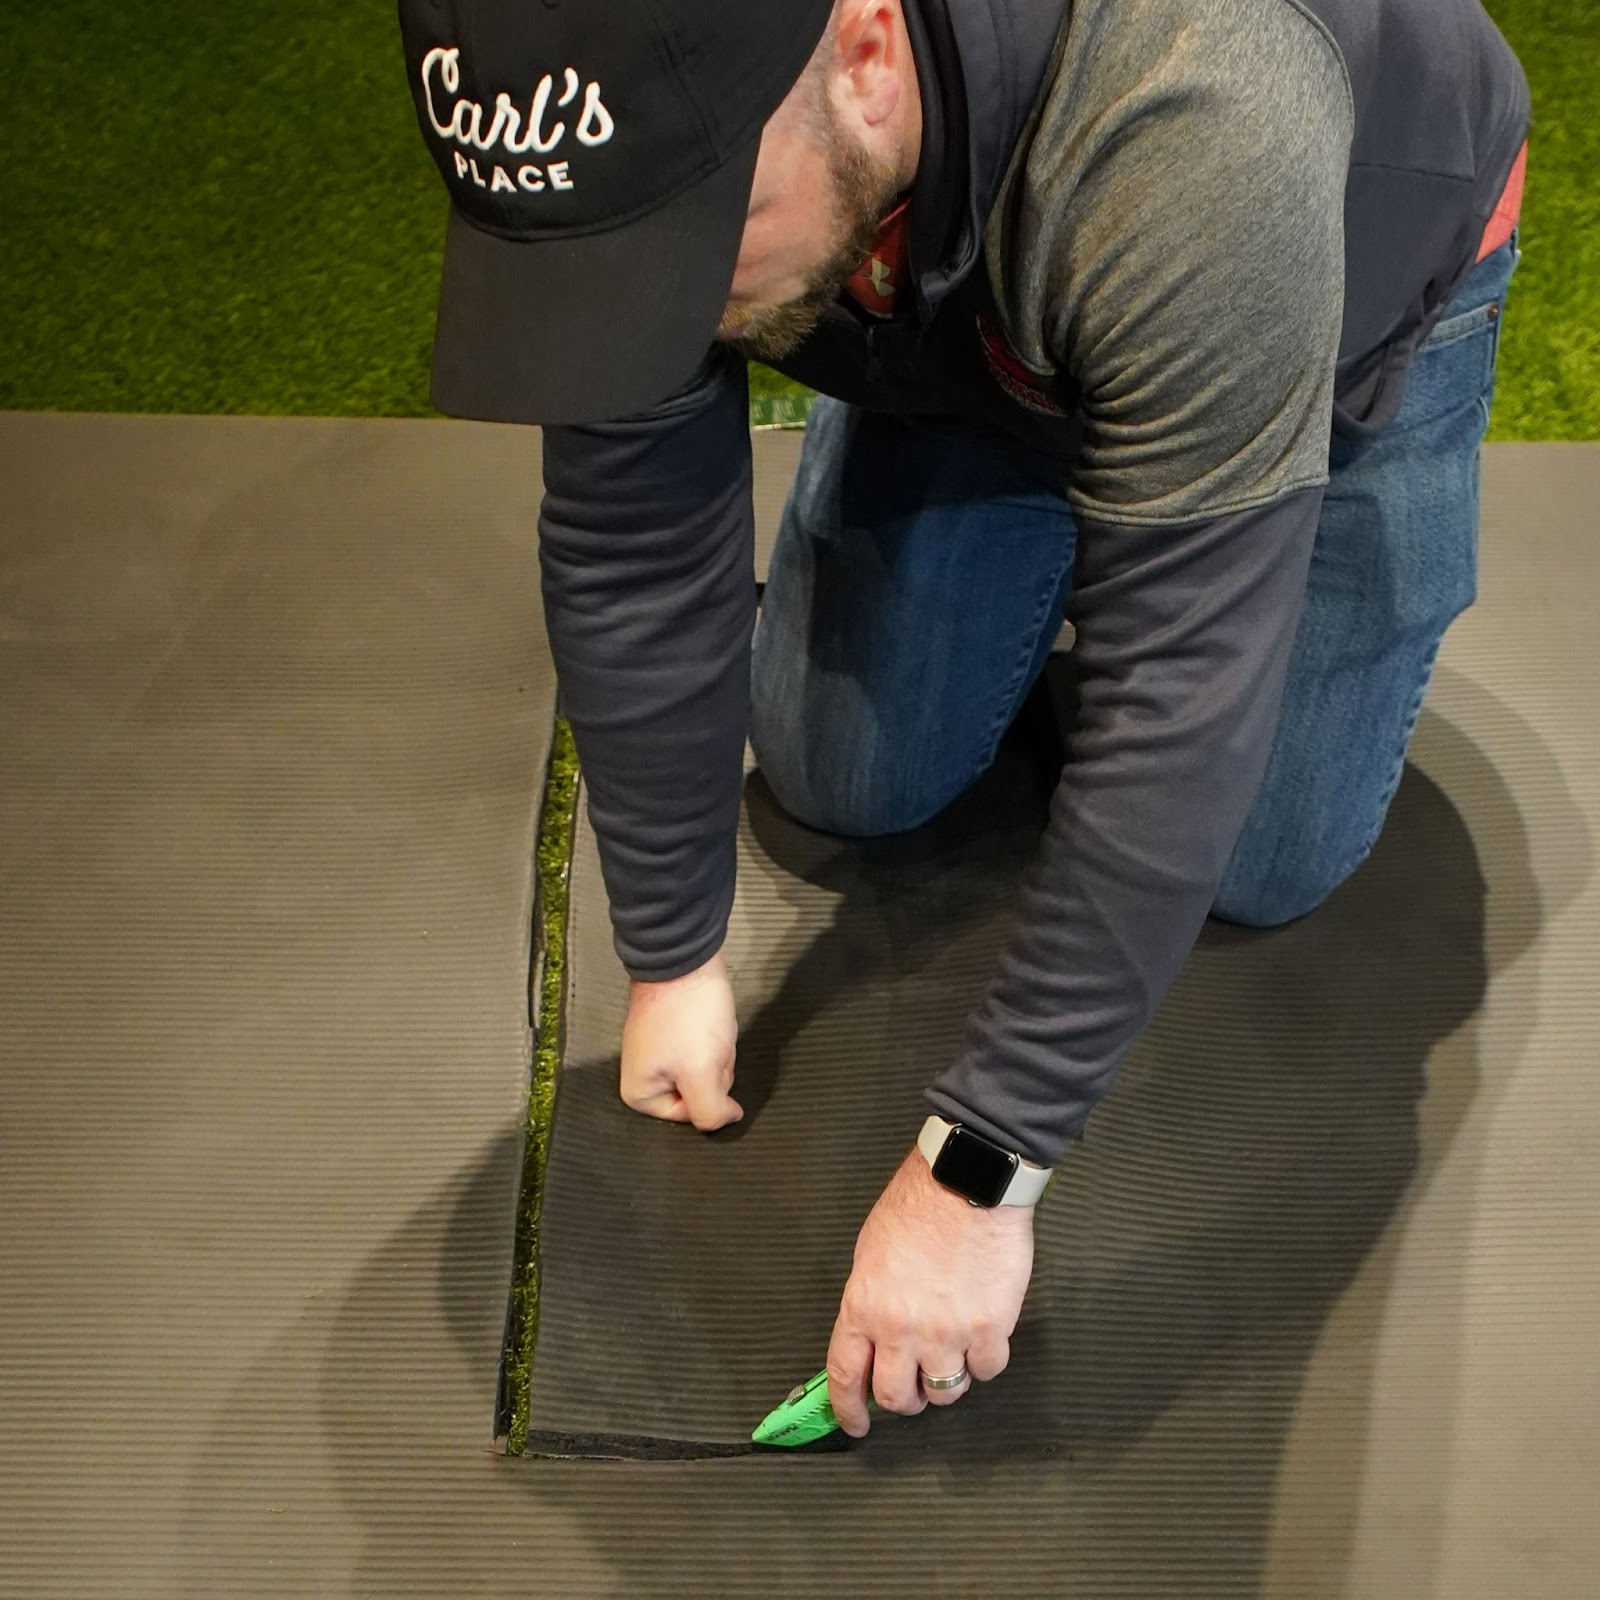
Once you have your spot measured and/or traced out, you can start cutting. We suggest starting to cut on the inner part of the line to make sure the hitting strip stays nice and snug when inserted into the mat. It will be easier to cut more off than it would be to add more substance back in to tighten it up.
However, you do not want it to be too snug as that will not allow it to bend downward when the club strikes it.
But, if you cut it to fit snugly, it will be easier to squish the turf and bottom foam to make room for the hitting strip.
To cut the bottom foam of the hitting mat, we used a box utility knife.

INSERT HITTING STRIP
Once you have the hitting mat piece cut out, flip over your hitting mat and start stuffing the hitting strip in.
If the hole in your hitting mat or turf is snug enough, it should hold it tight enough and not allow it to move around or come out. Otherwise, you may need to look into other adhesive options.
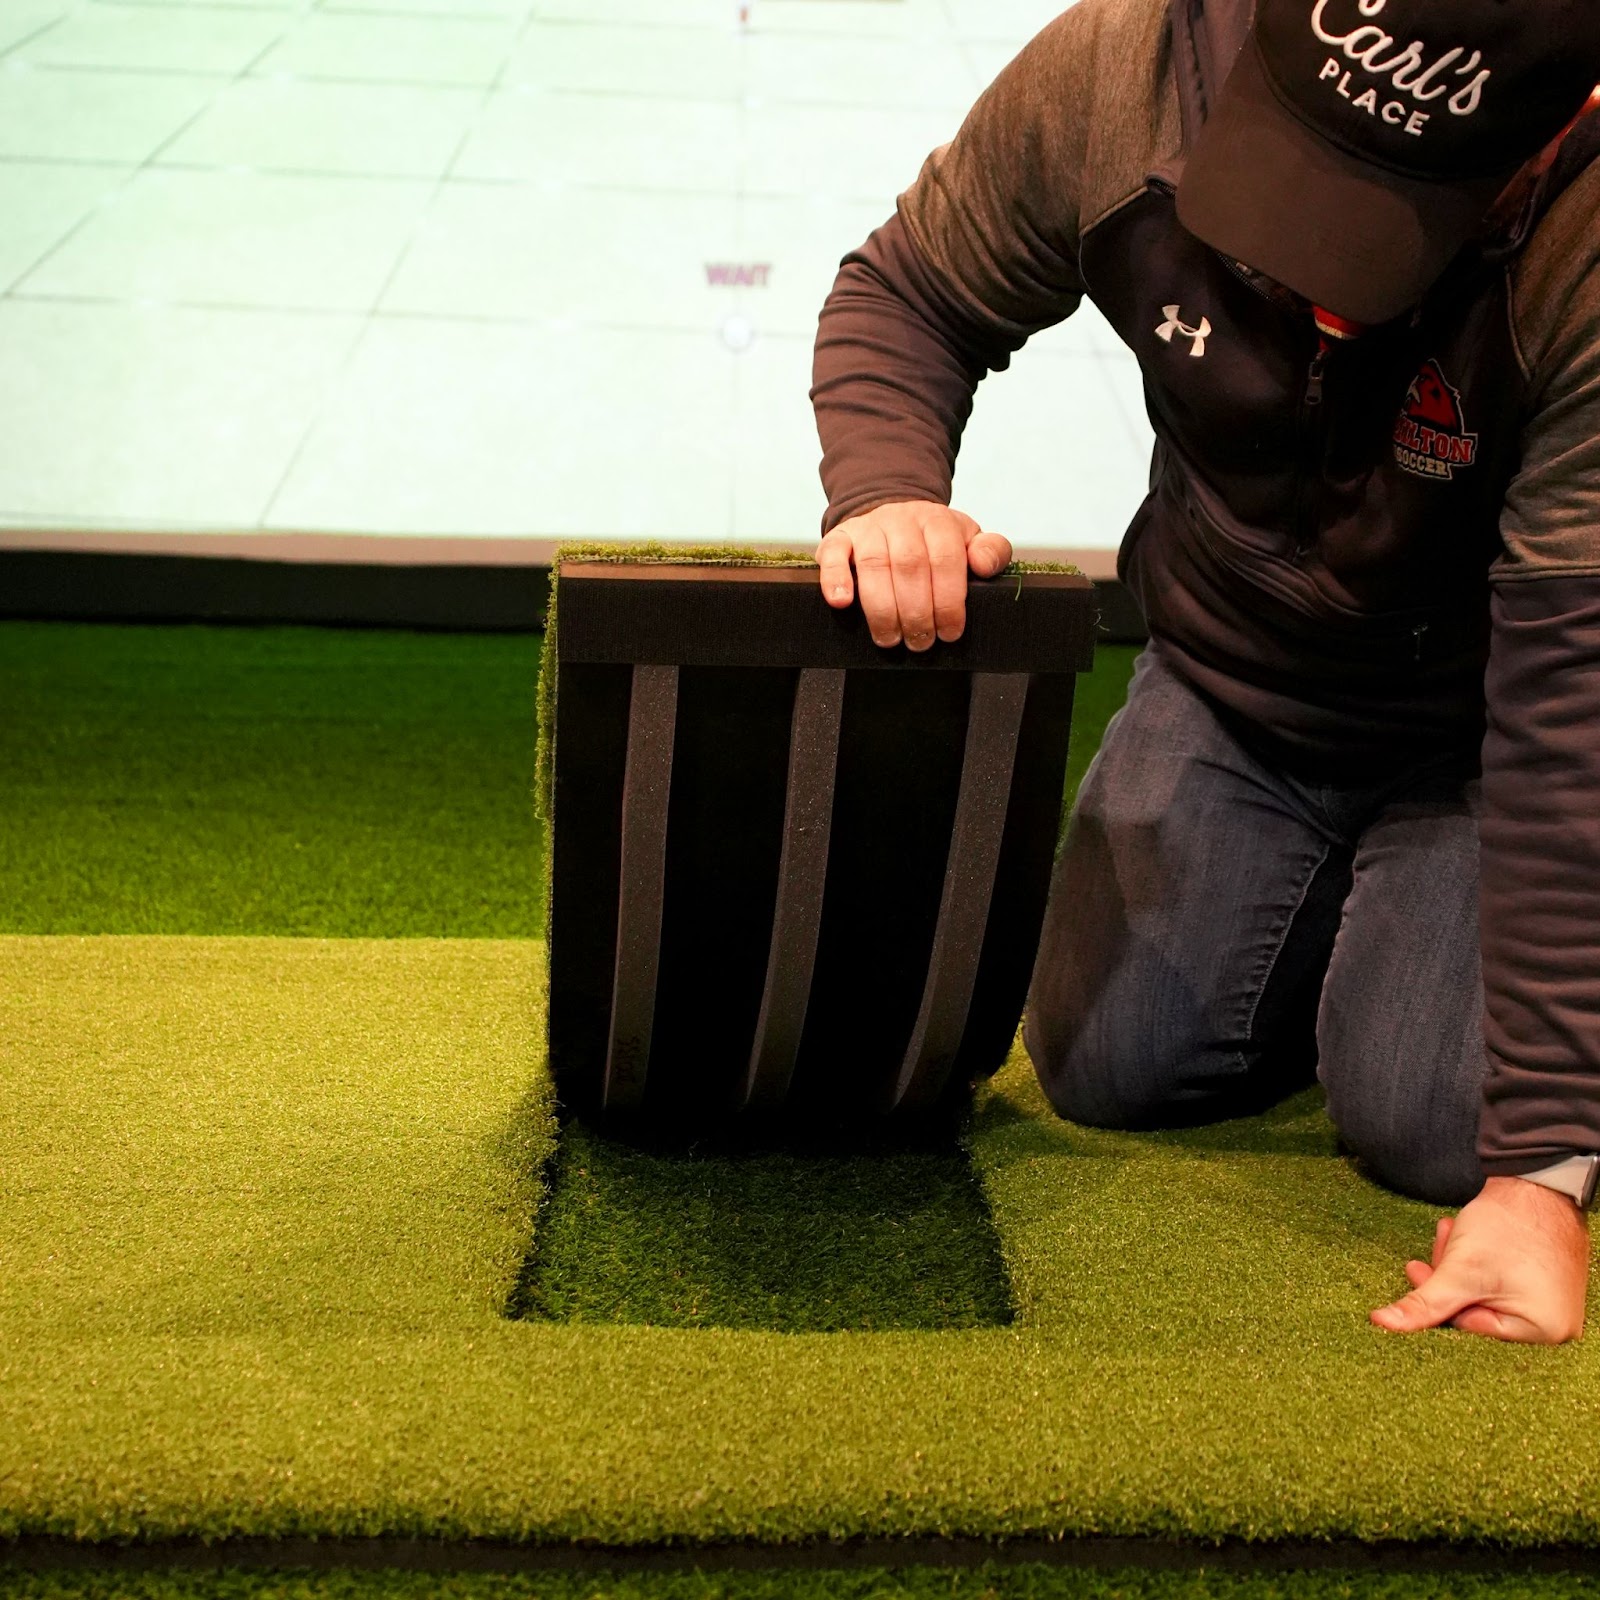

Once the hitting strip is securely placed and looks how you imagined, it’s time to start playing again!
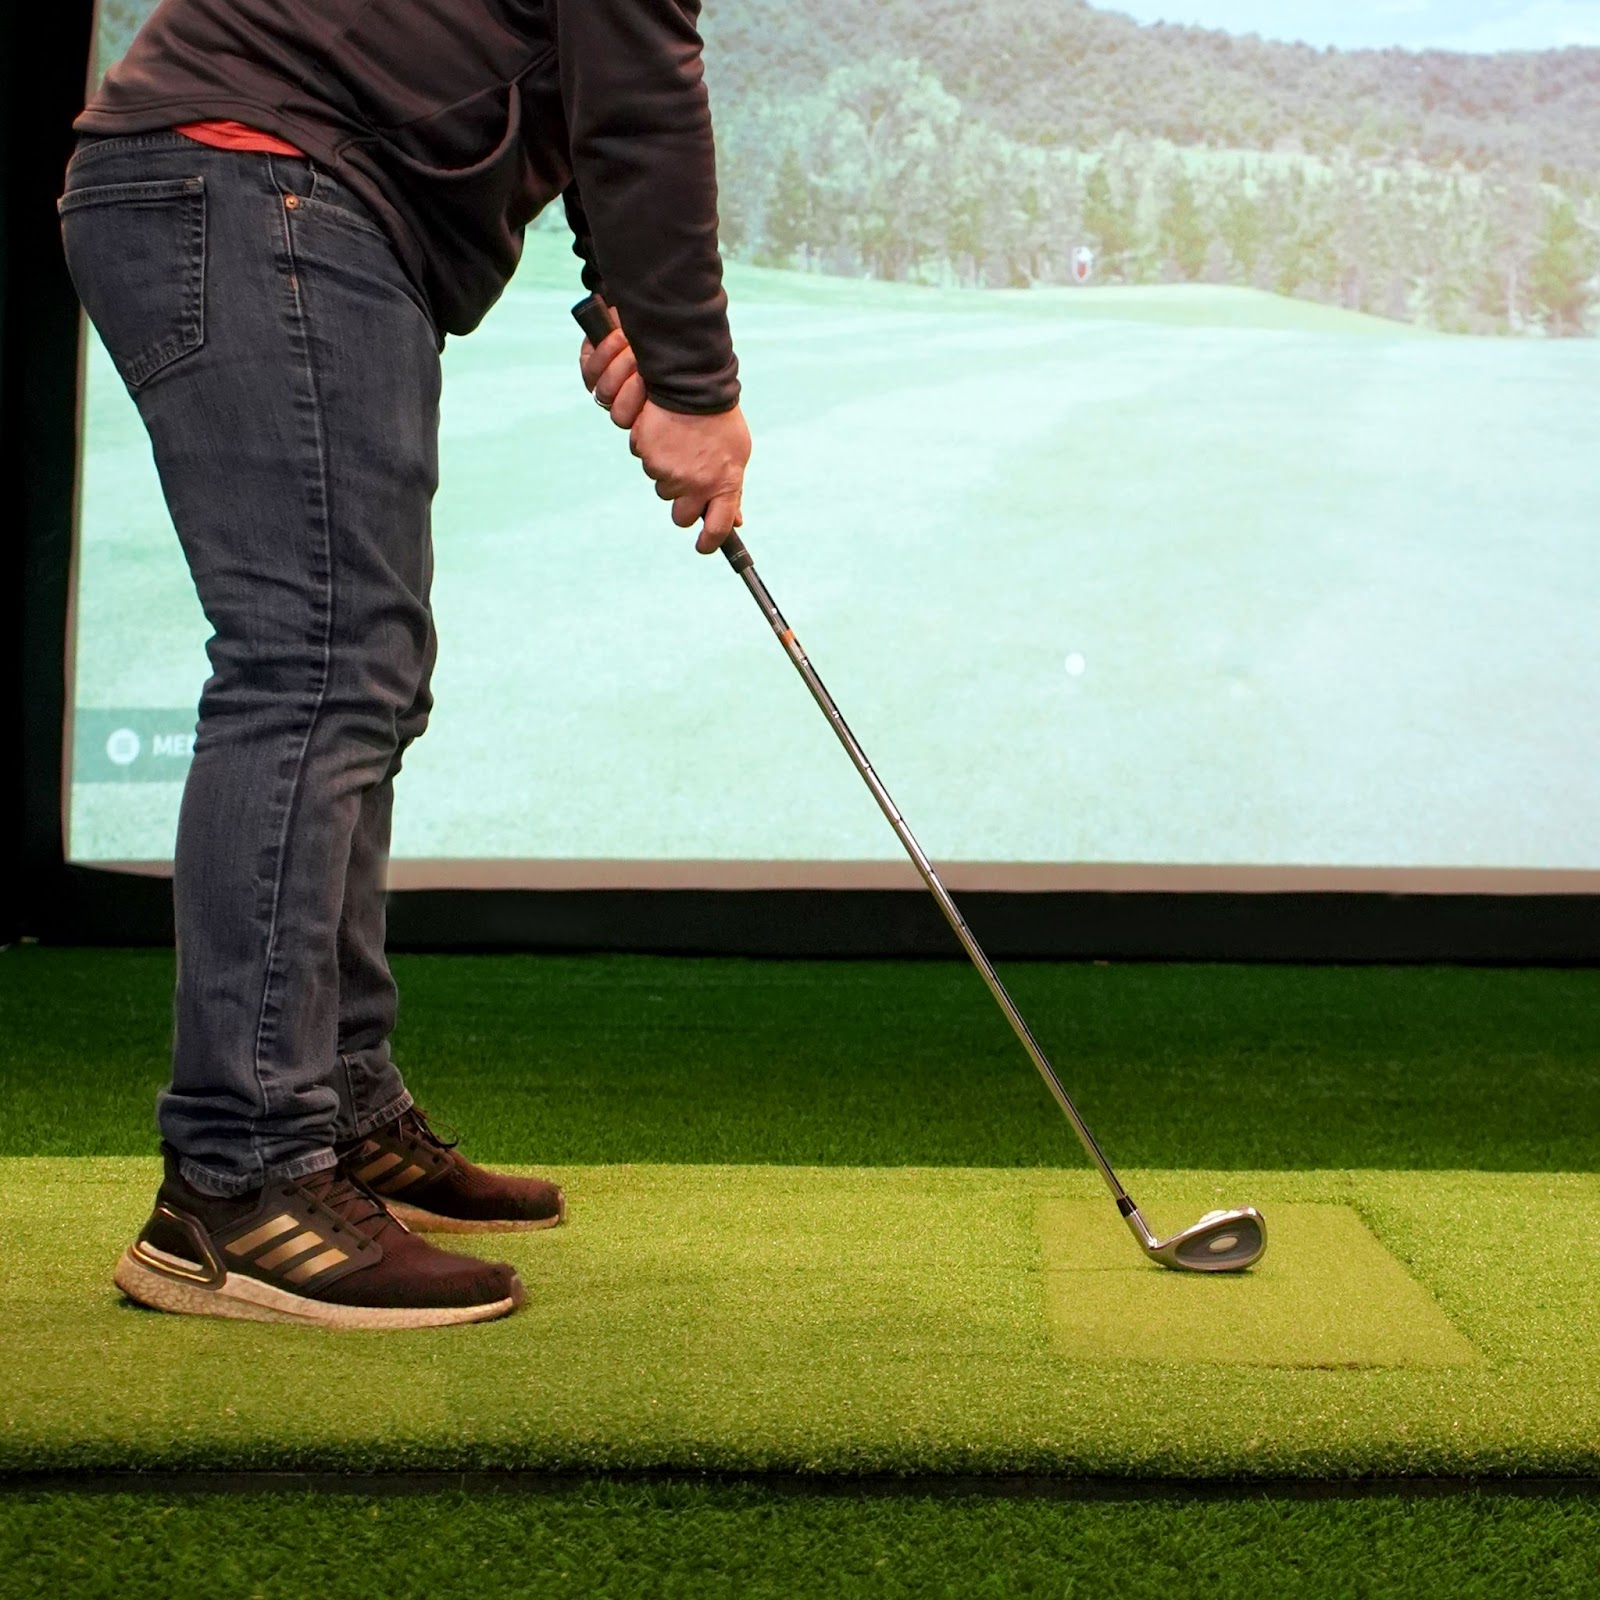
Did you know? Our hitting strip can be used with more than just the Carl’s Place hitting mat; try it with a Country Club Elite Hitting Mat, or let us know in the comments what other mats you would use it with!

