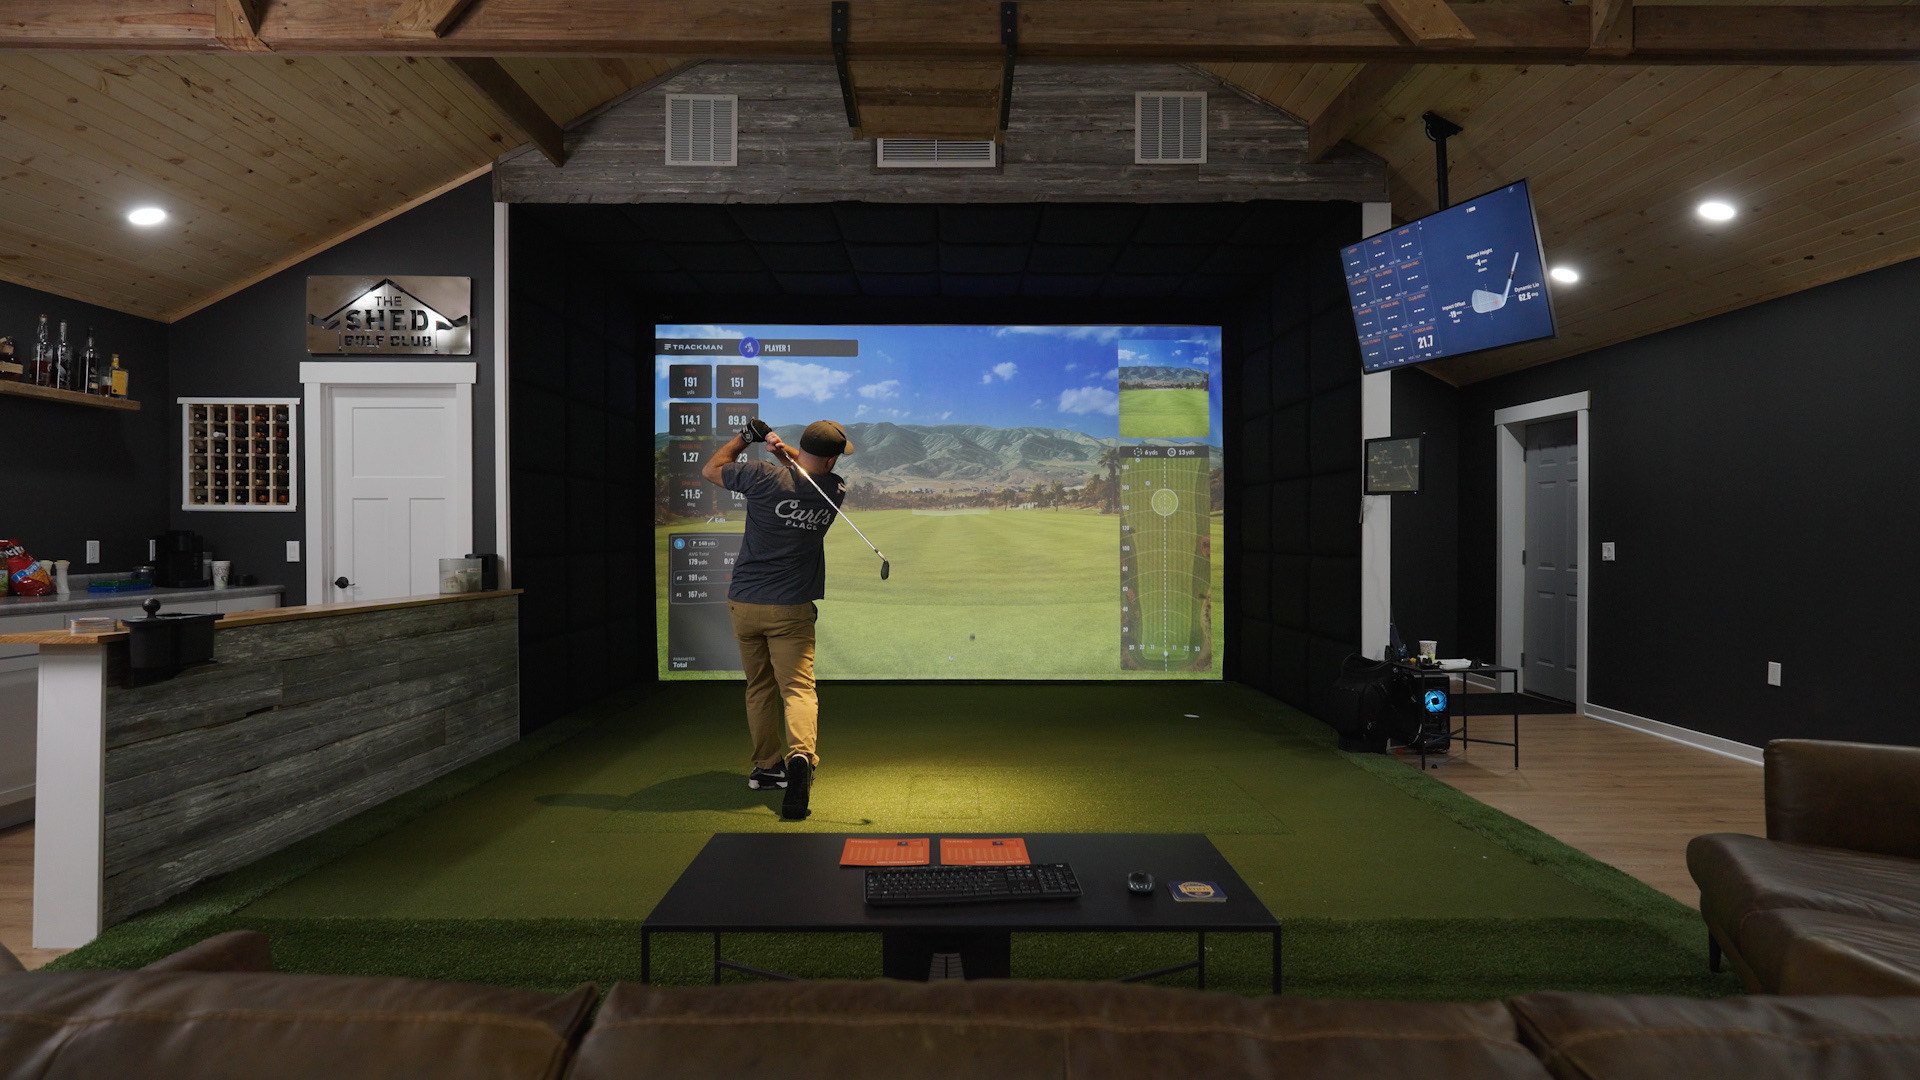
Creating an optimal indoor golf setup requires more than just high-tech equipment; the right golf simulator flooring is key to maximizing performance and aesthetics.
Whether you're looking to practice putting or simulate a real golf course experience, the right golf simulator flooring can make all the difference. Let’s dive into your options.


Golf Simulator Sub-Flooring Options
While not strictly necessary, installing a subfloor beneath your turf can provide numerous advantages. Some of the most significant benefits include added cushion for comfort and the ability to insert a hitting mat or strip into the floor, creating a seamless transition between your hitting surface and the surrounding turf.
This not only enhances the visual appeal of your simulator but also improves the feel of each shot, making your practice sessions more realistic.
Golf Simulator Puzzle Piece Gym Mats

Building a subfloor out of puzzle piece foam is the easiest way to accomplish this. The foam is light and connects together quite easily, unlike building up a wood subfloor, which takes time, tools and a handy person.
- Pros: These mats are an affordable and straightforward solution for your golf simulator’s flooring needs. They offer good cushioning, which could help reduce the strain on your joints during extended practice sessions. Installation is quick and easy, with the mats fitting together like a puzzle. Cutting out a spot to recess a hitting strip or hitting mat should not be too difficult, plus the extra cushioning should help contain balls bouncing off the screen.
- Cons: Over time, the mats may shift, particularly in high-traffic areas. They’re also less durable than a wood subfloor, and, depending on the quality of your pieces, the seams between the mats can disrupt the smoothness of your hitting surface.
Building a Golf Simulator Subfloor with Wood
As stated above, this is for the more handy people out there. It ultimately might lead to a better looking, more permanent, more finished solution.
- Pros: A wood subfloor offers a sturdy, long-lasting foundation that can be customized to your exact specifications. The ability to insert a hitting mat or strip is a major advantage, providing a seamless feel and professional appearance. Additionally, a wood subfloor can help with sound insulation and can be more forgiving on your clubs.
- Cons: Constructing a wood subfloor requires more time, effort, and money than other options. However, the durability and performance benefits often justify the investment for serious golfers.
How to Install a Wood Subfloor Using 2x4s

Materials needed:
- 2x4 or 2x8 lumber
- ¾ inch plywood sheets
- Screws or nails
- Power drill
- Saw (circular or miter)
- Tape measure
- Level
- Optional: moisture barrier, construction adhesive, utility knife
Steps:
1) Measure and Plan:
- Measure your space and plan the layout of your 2x4 grid, typically spaced 16 inches apart.
2) Prepare the Area:
- Clear the room and install a moisture barrier if needed.
3) Build the Frame:
- Cut and lay out 2x4s in a grid pattern.
- Secure the 2x4s with screws or nails.
4) Install Plywood:
- Cut plywood sheets to fit.
- Lay them over the 2x4 grid and secure with screws.
5) Inset a Hitting Mat (Optional):
- Measure and cut a section of plywood to fit the mat.
- Install the mat flush with the surrounding plywood.
6) Finish:
- Trim any excess plywood.
- Lay your turf or flooring on top and secure it with tape or adhesive.
This setup provides a stable, professional foundation for your golf simulator, enhancing your overall experience.
Golf Simulator Turf: Finding the Right Fit
Also called ‘putting turf’, ‘landing turf’, ‘artificial grass’, ‘indoor putting green’ or just ‘golf simulator flooring’, turf not only makes your simulator look good, but also provides benefits for golfers looking to improve.
Some feel that having turf with realistic looking grass blades looks fresh, but others prefer a good look that also comes with a true putting green feel.
Most kinds of turf also help catch the ball while dampening the sound of the as it comes off the impact screen and hits the floor.
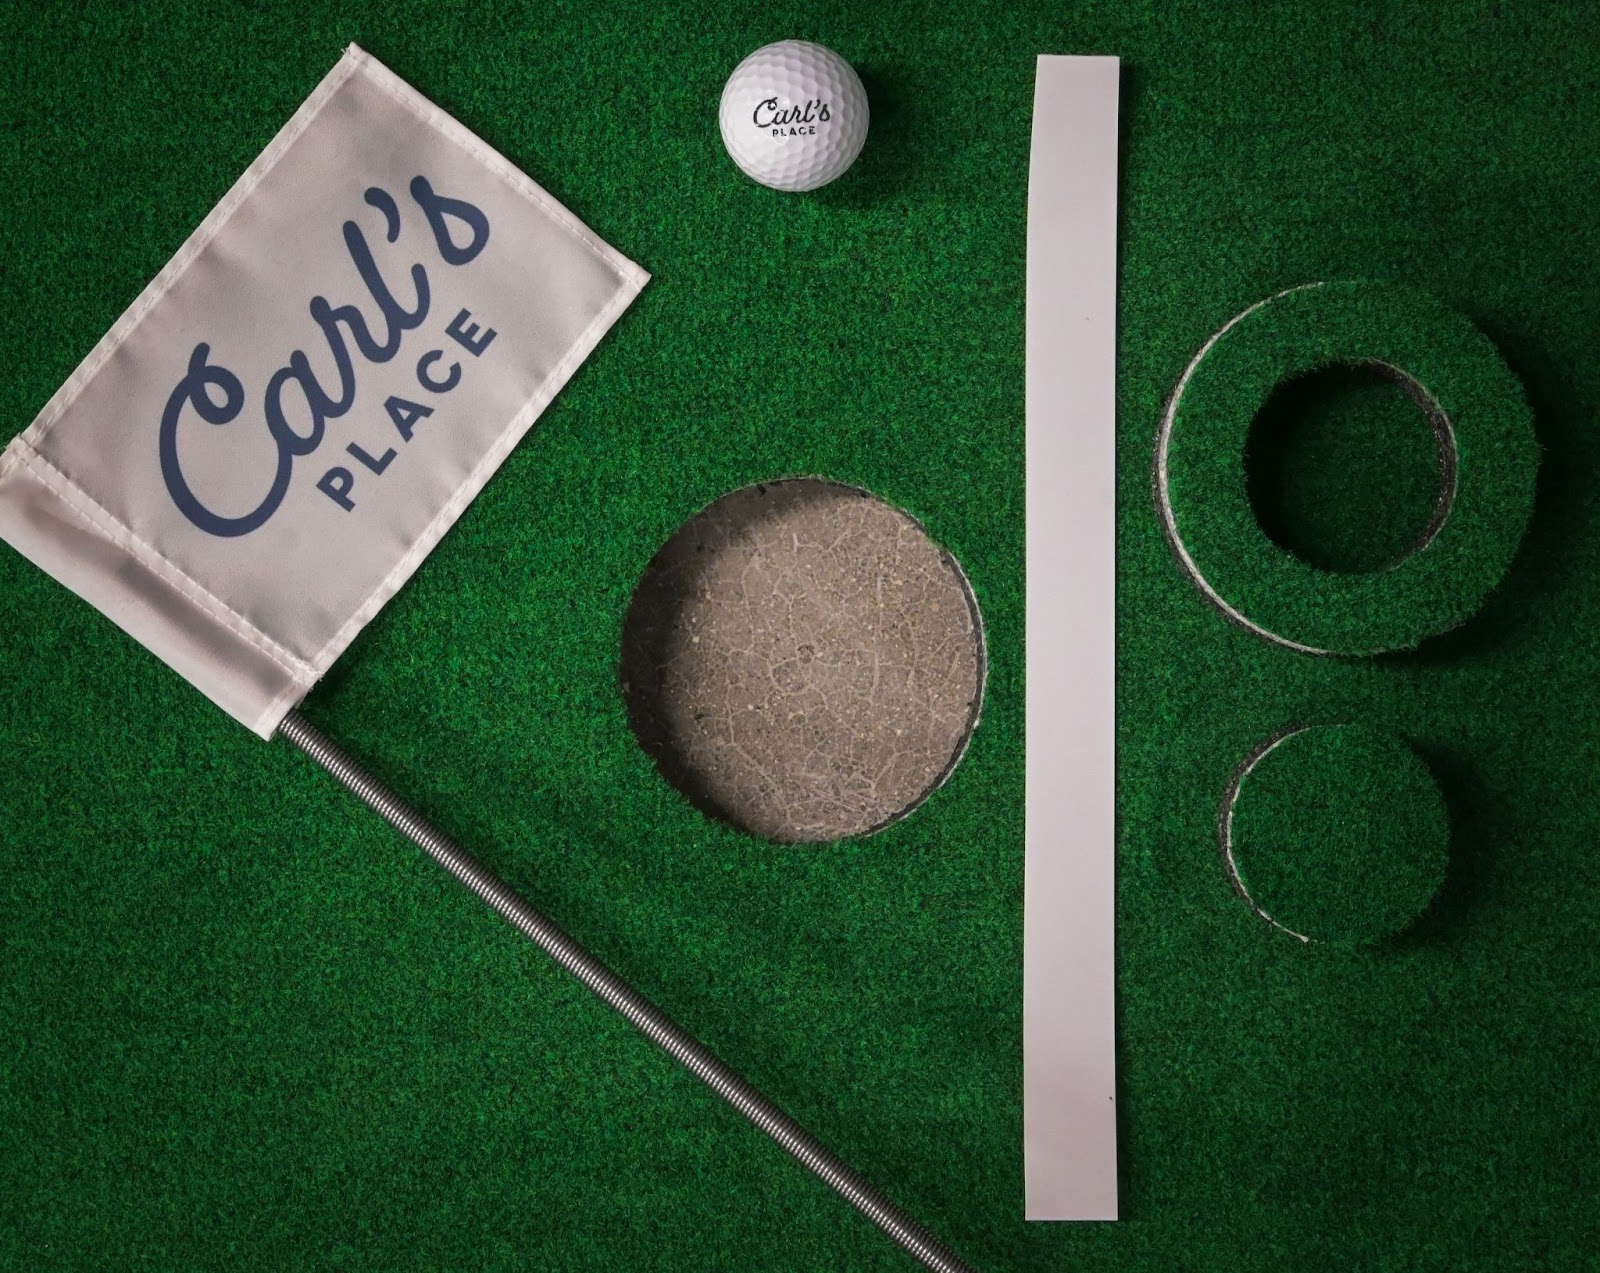
Golf Simulator Putting Turf
- Pros: If putting (or even chipping) practice is a priority, investing in putting turf is a great idea. Companies like Big Moss offer high-quality turf designed specifically for putting greens. This type of turf provides a true roll and a smooth surface, making it ideal for honing your short game.
- Cons: Putting turf is generally not suitable for full swings, as it doesn’t offer the cushioning needed for hitting shots repeatedly. It’s best used in conjunction with a separate hitting mat.

Golf Simulator High Pile Turf
- Pros: For a more realistic golf course feel, higher pile turf is a solid choice. This type of turf mimics the texture of fairway grass and can handle the impact of full swings. It’s readily available at many big box stores, making it an accessible option.
- Cons: While great for simulating real grass, higher pile turf is less ideal for putting practice. It also requires more maintenance to keep it looking and performing well over time.
Ultimately, the decision to buy golf simulator turf is up to you. It is not a necessary component of an indoor golf setup, but you know how we feel about it; just read the first couple paragraphs again if you forgot.
That said, there are dozens of different golf simulator flooring options available, and several different stores or websites you can purchase from. Here are some of our favorites, or ones that we have previously used:
-
Perfectly sized to your Carl's DIY Enclosure: Big Moss Turf at Carl's Place
-
Realistic grass golf simulator turf: TrafficMaster Fescue Multipurpose Artificial Grass at Home Depot
-
True to color golf simulator turf: SYNLawn Forest Artificial Grass at Lowes
Installation Tips for Your Golf Simulator Turf
Once you’ve chosen your turf, it’s time to install it. Whether you’re laying it over a subfloor or directly on the existing floor in your room, proper installation is key to a smooth, professional finish.
- Roll Out the Turf: Allow the turf to acclimate to the room temperature for a few hours before installation. This will help it lay flat and reduce wrinkles.
- Position the Turf: Lay the turf over your subfloor or existing floor, ensuring it covers the entire area. If you’re using multiple pieces of turf, align the seams carefully.
- Secure the Turf: Use carpet tape or a similar adhesive to secure the edges of the turf to the floor. This will prevent it from shifting over time and keep it looking neat.
- Trim Excess Turf: Use a utility knife to trim any excess turf along the edges. If desired, you can add trim or baseboards around the perimeter for a polished look.
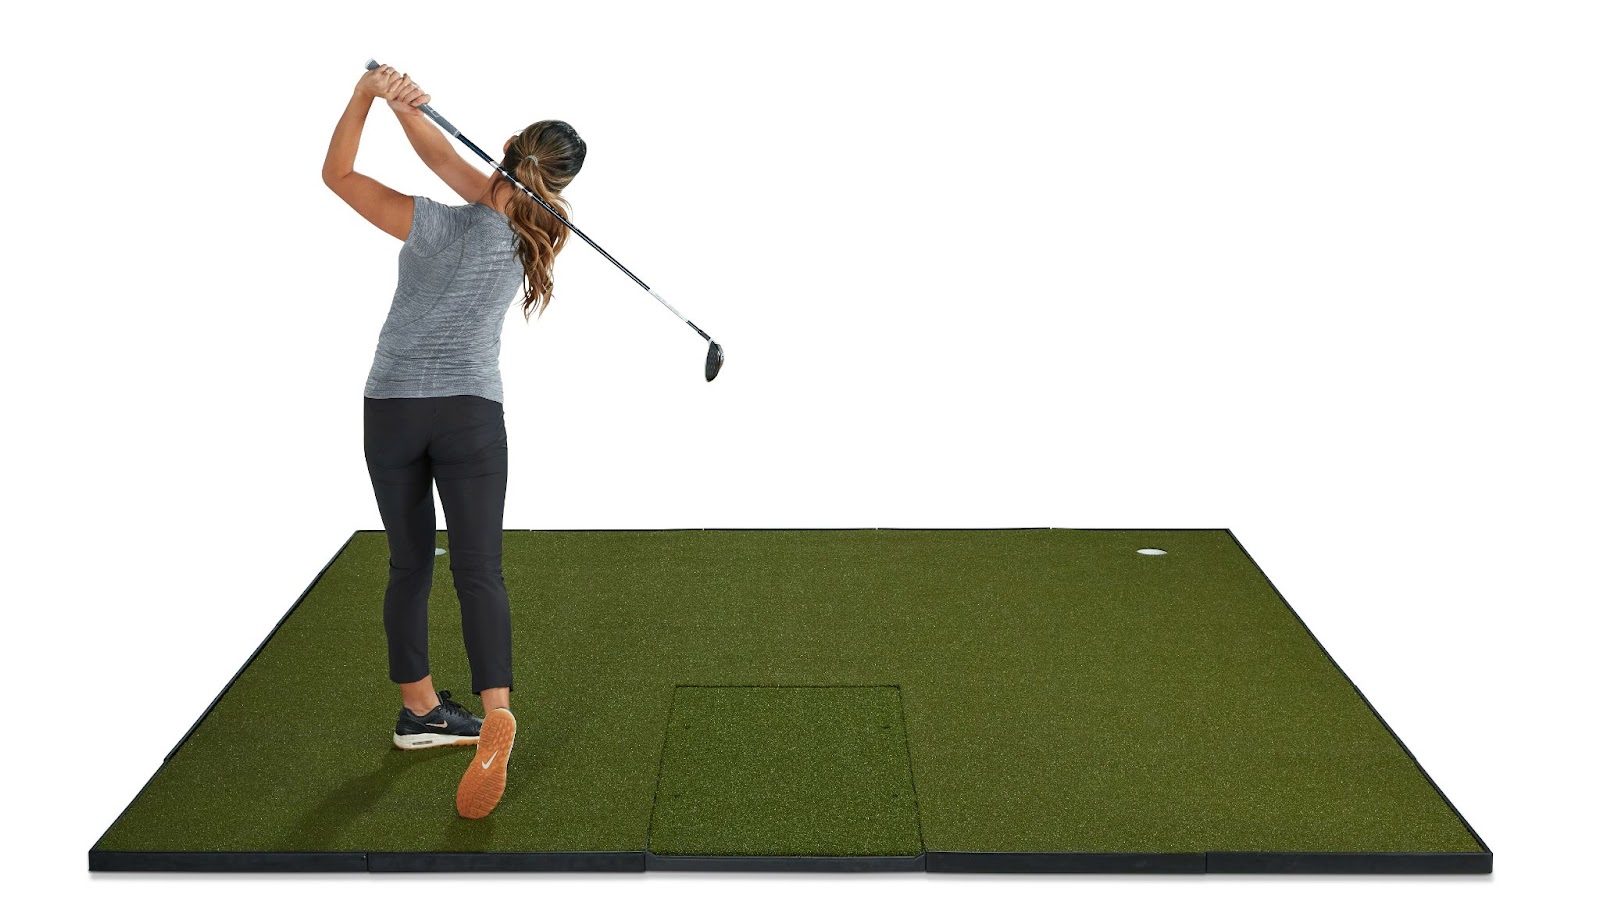
Golf Simulator Hitting Mats
While subflooring and turf typically cover the entire golf simulator area, a hitting mat is the specific area where golfers take swings.
Sometimes the mat is large enough to allow the golfer to stand and hit off of it. Other times golfers stand on the turf or surrounding flooring and hit the ball from a designated hitting strip.
Some mats and strips are meant to replicate a real fairway, while others are more soft and forgiving on wrists and elbows. Check out our review on several different hitting mats.

Conclusion
The right flooring setup can elevate your golf simulator from a simple practice space to a true indoor golfing experience. Whether you’re focused on putting or full swings, and whether you choose a basic setup or invest in a custom subfloor, the choices you make will impact your comfort and performance. By carefully selecting and installing your subfloor and turf, you’ll create a simulator that’s not only functional but also visually impressive and enjoyable to use.
Search articles by tag:
Golf Simulators Resources Hitting MatsRelated Posts
Hitting Mats
Which Fiberbuilt golf mat is right for you?
Golf Simulators, Golf Enclosures
Built-In Golf Simulators | Transform Your Room
DIY Golf Enclosures, Golf Simulators
Golf Simulator Turf: The Cherry On Top