You’ve likely seen the awesome new trend of projecting key information - data points, club-at-impact replays, etc. - on your golf simulator floor. There are a couple of higher-priced options out there right now, but Carl can help you accomplish something similar for much less.
In this blog, we’ll delve into the fascinating world of projection mapping, a technique that allows you to display data in a visually stunning manner right on your hitting mat.
If you have a golf simulator running off a PC already, all you need is an extra projector and the versatile OBS Studio software.
Why Projection Mapping?
If you're looking to upgrade your golf simulator setup, projection mapping offers a creative way to repurpose a projector - whether you have an old one sitting around the house or want to invest in a second one.
Not only does this enhance your training sessions, but it also brings a new level of sophistication to your setup.
Getting Started
Here’s a step-by-step guide to get you up and running with projection mapping:
- Download OBS Studio: Start by downloading OBS Studio, a free software primarily used for screen capture. We'll be using it for projection mapping instead.
- Set Up OBS Studio: Open OBS Studio and create a new scene. Name it something recognizable like "Projection Mapping". In the Sources panel, click the plus sign and select "Window Capture". Name this source (e.g., "Data").
- Configure Window Capture: Select the window you want to capture. For instance, choose a Trackman driving range window if you’re using Trackman software. Adjust the capture method to "Windows 10" and click OK.
- Adjust Your Display Settings: Ensure your projector and computer monitor share the same aspect ratio and resolution to avoid any display issues.
- Resize and Crop: Resize the captured window to fit your hitting mat. Use the ALT key to crop the image to show only the essential data like carry distance and total distance.
- Project Your Scene: Right-click on your scene and select "Full Screen Projector (Scene)". Choose the display that corresponds to your floor projector.

Adding More Data Points
Want more data? Repeat the window capture process for additional metrics like spin rate or club impact. Simply:
- Create New Window Capture Sources: Name each source distinctly (e.g., "Data 2", "Club Impact"). Adjust the size and crop as necessary.
- Customize Your Display:Position the data points precisely using your arrow keys for fine adjustments.

Enhance Visibility
To ensure your data is clearly visible on the mat, add an adjustment layer.
Add Effect Filters
In the scenes tab, select "Projection Mapping" and open effect filters. Use the color correction filter to adjust brightness, contrast, and saturation.
Personalize Your Setup
Feel free to get creative; you can display anything from logos to additional videos. Open a new Chrome window, capture it using OBS, and crop to display only the content you want.
Final Touches
Tweak the settings until you achieve the desired look. Play around with the filters and positioning to make your mat display look professional and tailored to your needs.
Conclusion
With this setup, you’ll transform your golf simulator into a high-tech training tool. Follow these steps, and soon you'll have a custom display that impresses and enhances your practice sessions.

Search articles by tag:
How-To Golf Simulators Projectors Hitting MatsRelated Posts

Golf Simulators, Resources, Hitting Mats
Golf Simulator Flooring Ideas
Golf Simulators, Projectors
Carl’s Place Floor Mounted Projector Enclosure for Golf Simulators
Golf Impact Screens, DIY Golf Enclosures, Golf Simulators, PRO Golf Enclosures, Launch Monitors
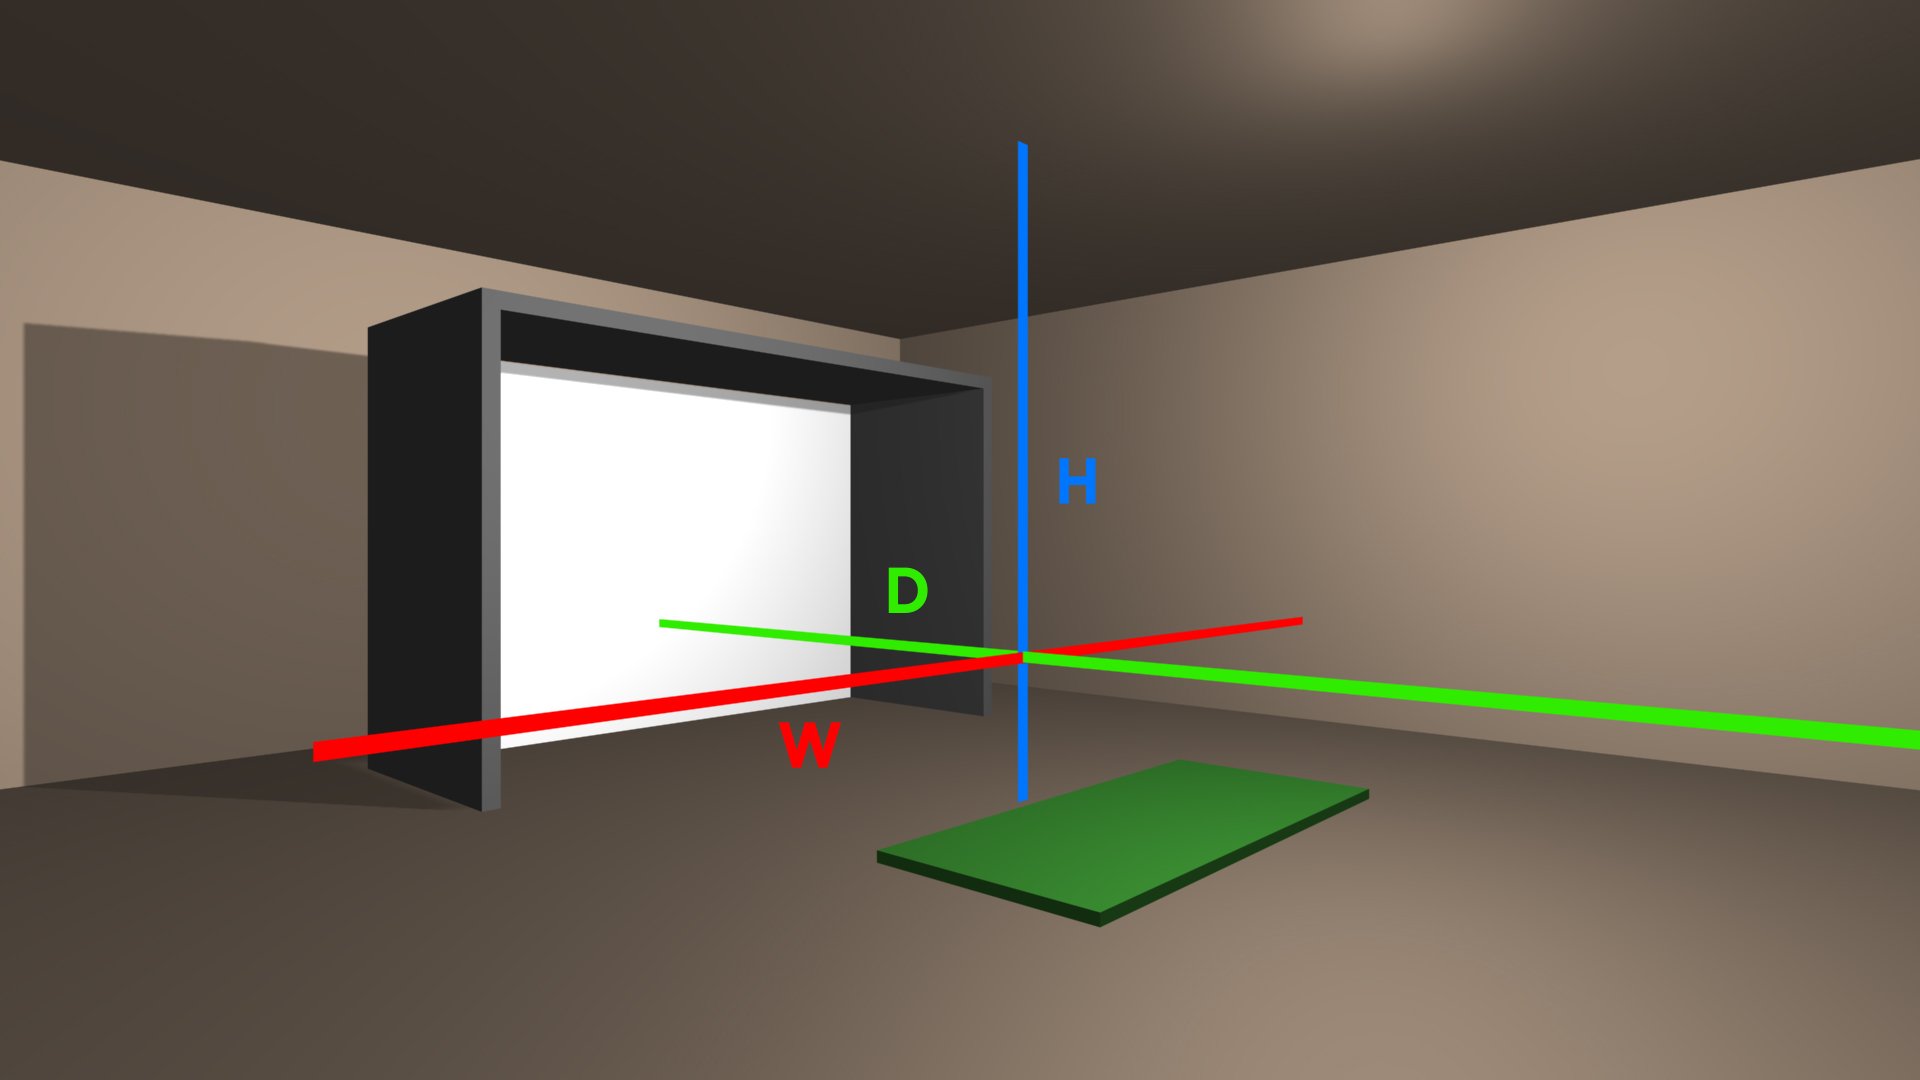
Measuring Your Space For An Indoor Golf Simulator