Five thousand dollars can buy four very different golf simulator setups. You could put more of it into launch monitor data, build a room you can upgrade later, or make your phone or tablet the center of the setup. We tried each approach in Carl’s Build Your Own Golf Simulator tool.
These are saved configurations from September 2026. Open a build to see its current selections and price, then adjust the dimensions for your room. The totals cover the products selected in each build. They do not include installation, room construction, or every cable and mounting supply you may need.
Have more room in the budget? See our $10,000 golf simulator builds and $20,000 golf simulator builds.

Four Golf Simulator Builds Around $5,000
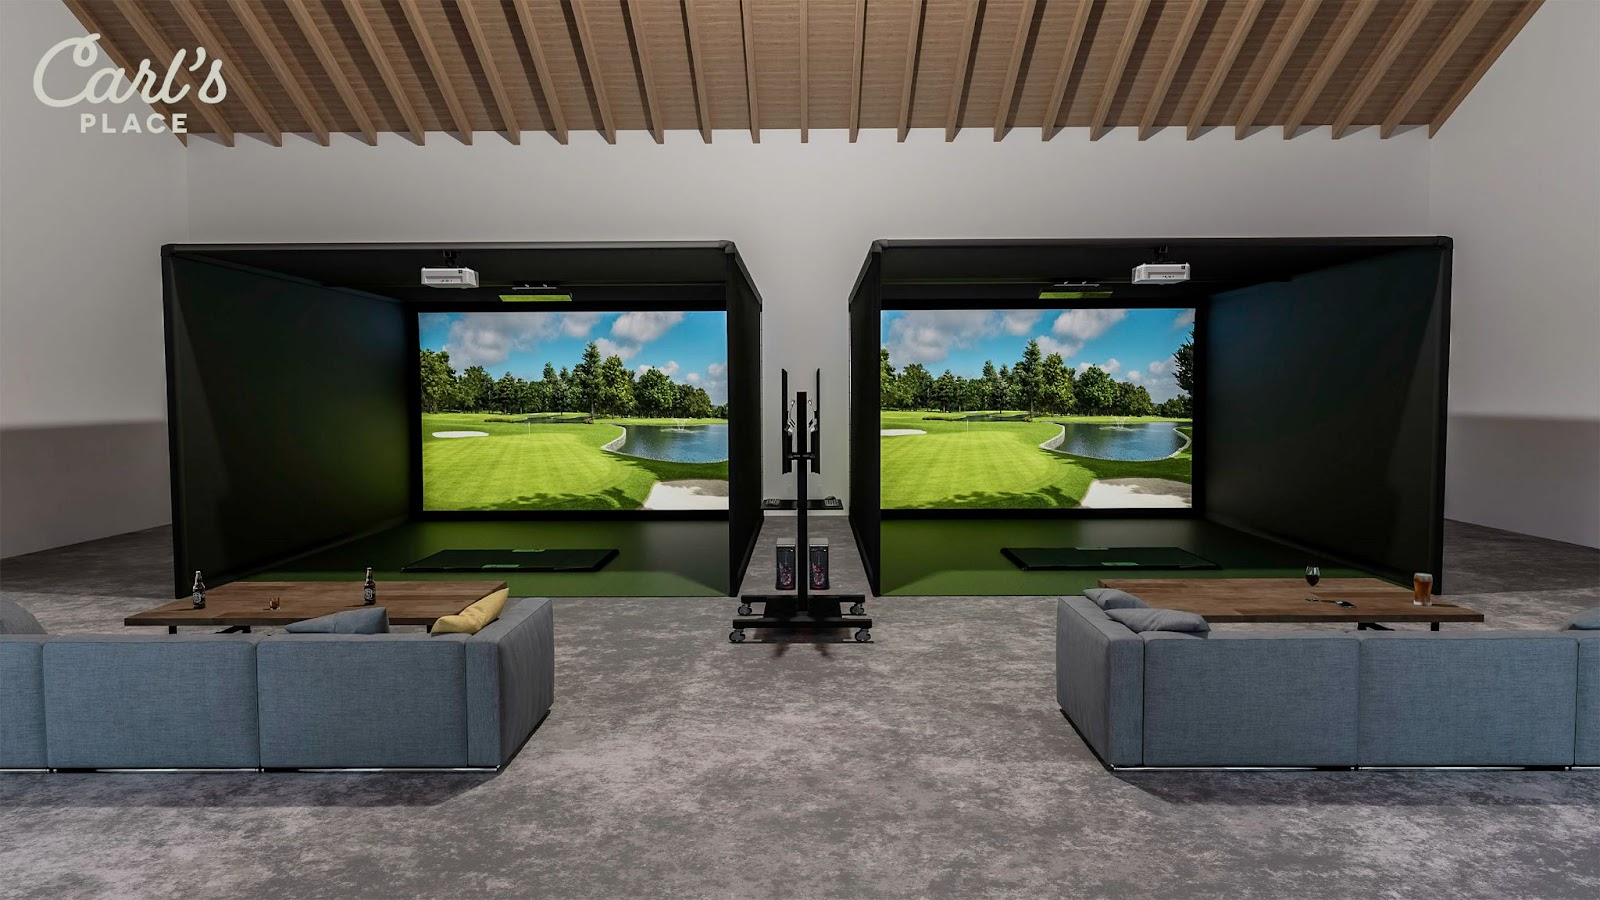
Each build has an impact screen, launch monitor, hitting mat, and projector. What changes is where the money goes.
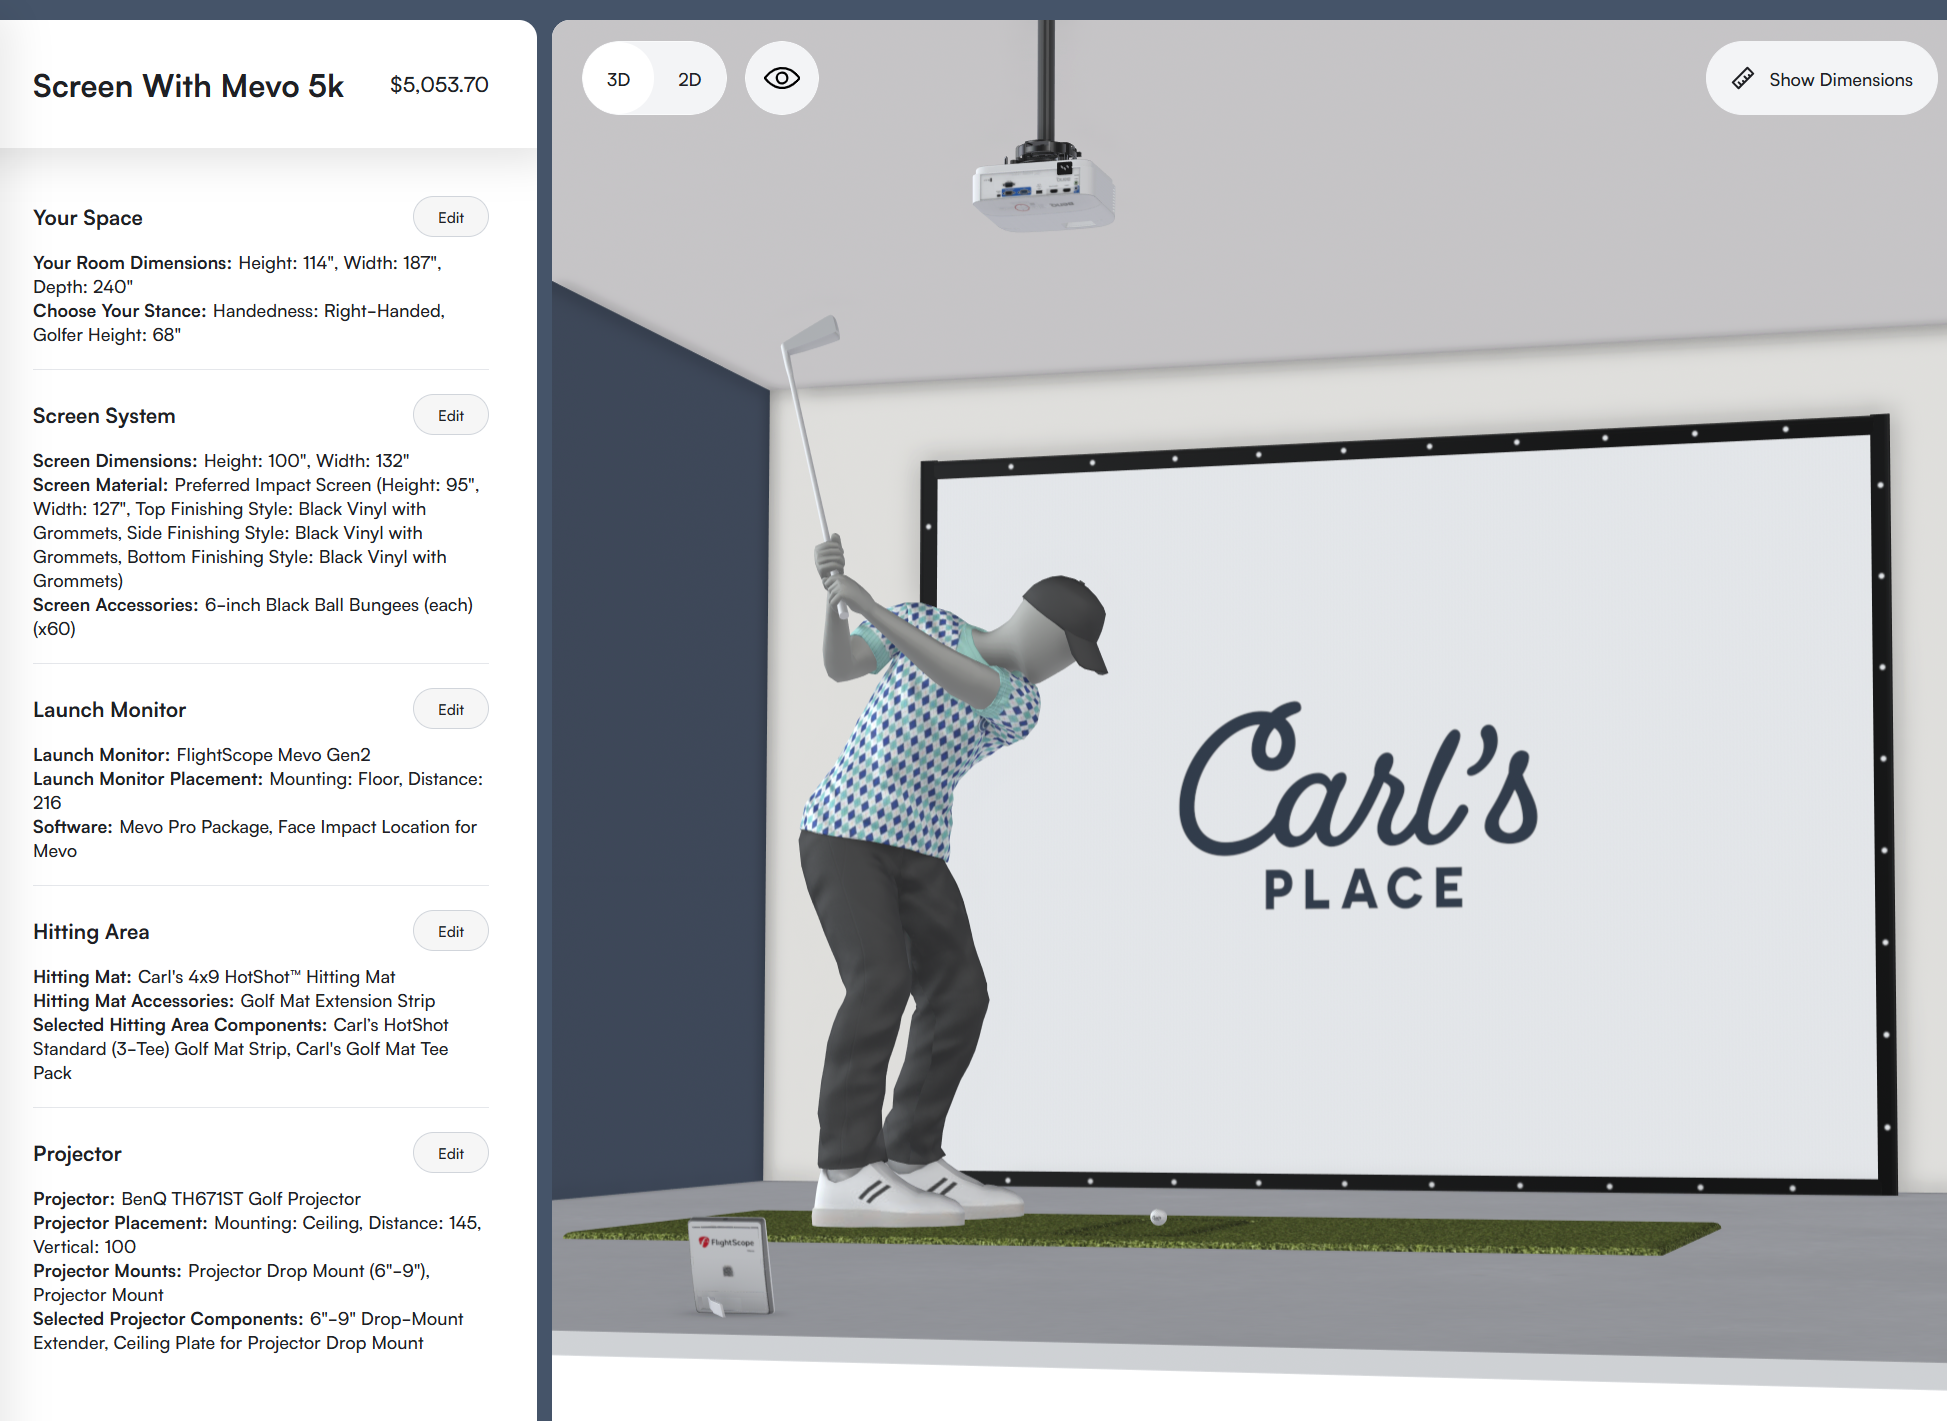
Best for Range Practice (and Indoors):
Mevo Gen2 with an Impact Screen you hang yourself
This is the one to look at if you want the same launch monitor for sessions at the driving range and shots into a screen at home. The saved build includes the FlightScope Mevo Gen2 with its Pro Package and Face Impact Location upgrades. That puts a substantial part of the budget into information you can use in either place, including more club data and feedback on where the ball meets the face.
At home, we paired it with a Preferred Impact Screen, grommeted around the edges so you can bungee it to a frame you would have to build yourself. If that sounds out of your DIY skills, you'd want to look at Carl's Enclosure Kits instead for a more all-in-one solution. This setup also uses a 4x9 HotShot mat and extension strip, and a BenQ TH671ST projector with a ceiling mount.
Tradeoff: No structure to hold the screen is included, you'd need to plan a suitable mounting structure around the hitting area. The Mevo also needs space behind the ball and enough ball flight toward the screen.
Saved build total*: $5,054
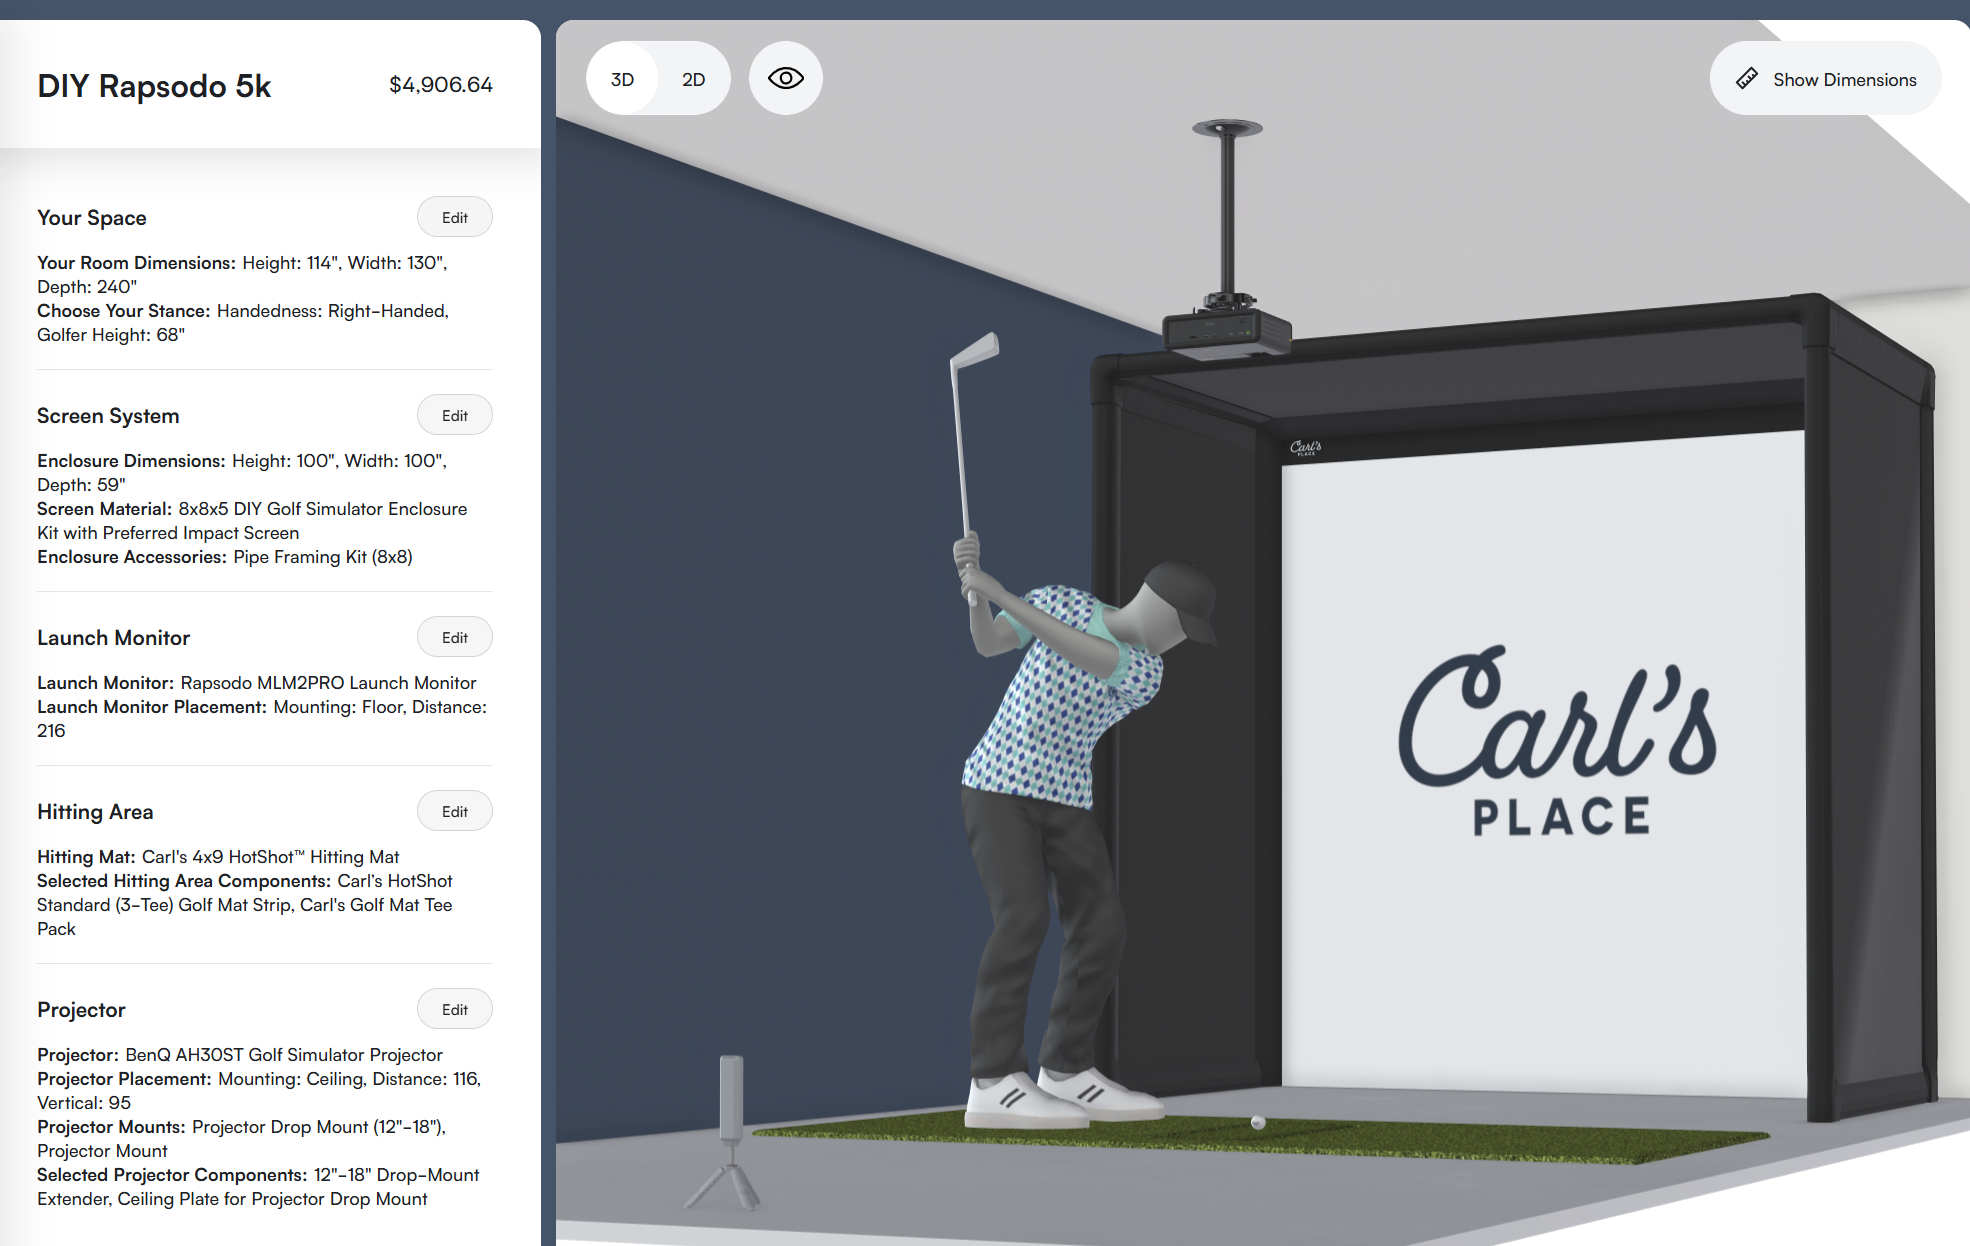
Best for Phone and Tablet Play:
DIY Enclosure with Rapsodo MLM2PRO
The Rapsodo MLM2PRO makes your phone or tablet part of the experience. Open the MLM2PRO app to practice, review shots and watch video from its cameras. For projected play, connect a compatible phone or tablet to the BenQ AH30ST projector with the appropriate video adapter and HDMI cable.
The saved build uses an 8x8 DIY enclosure with a Preferred Impact Screen and pipe kit, plus a 4x9 HotShot mat. The MLM2PRO sits behind the ball, so the room needs enough depth for both the launch monitor and the shot toward the screen.
Tradeoff: Rapsodo Premium is needed for its expanded video analysis, measured spin with compatible RPT balls, and fuller simulation features. Plan for that ongoing cost if those are the features you want. The projector adapter and HDMI cable are not shown in the saved build, and the phone or tablet must support video output.
Saved build total*: $4,907
View the Rapsodo MLM2PRO build
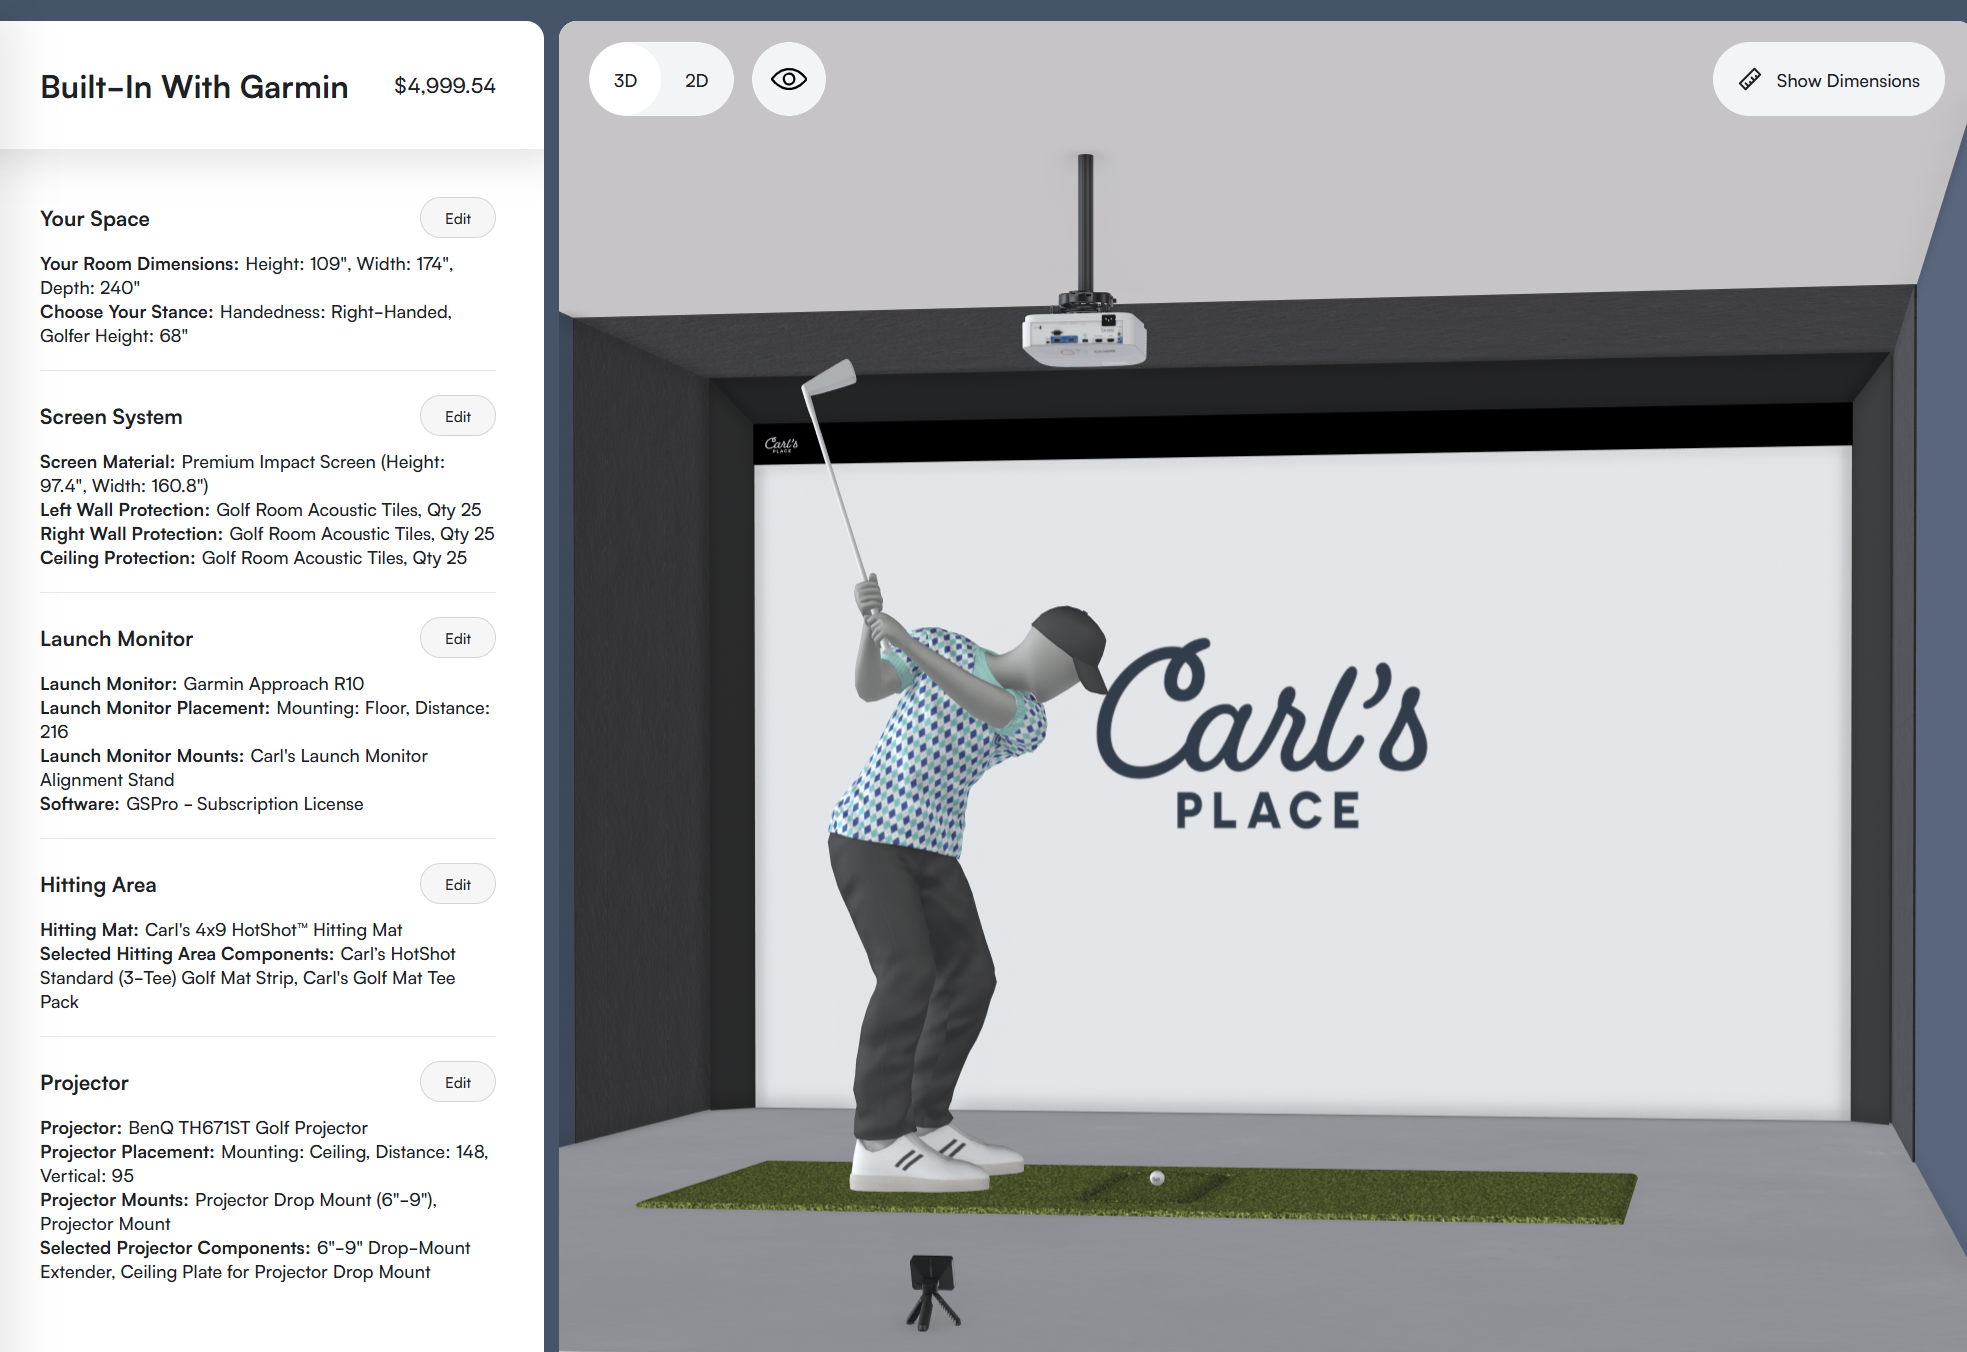
Best Use of the Budget:
Built-In Golf Room with Garmin R10
Here, most of the budget goes into the room. The Built-In configuration has a large Premium Impact Screen, acoustic tiles selected for both side walls and the ceiling, a 4x9 HotShot mat and a BenQ TH671ST projector. The Garmin Approach R10 gets you hitting into that room now. If you decide to move to an R50 later, the screen and playing area are already there.
We also selected a launch monitor alignment stand and a GSPro subscription. The R10 can work with GSPro, giving this build a software path beyond Garmin's own practice and simulation apps.
Tradeoff: GSPro requires a compatible Windows PC, which is not included in this saved configuration. As a radar unit, the R10 also needs a decent amount of space behind the ball.
Saved build total*: $5,000
View the Built-In Garmin R10 build
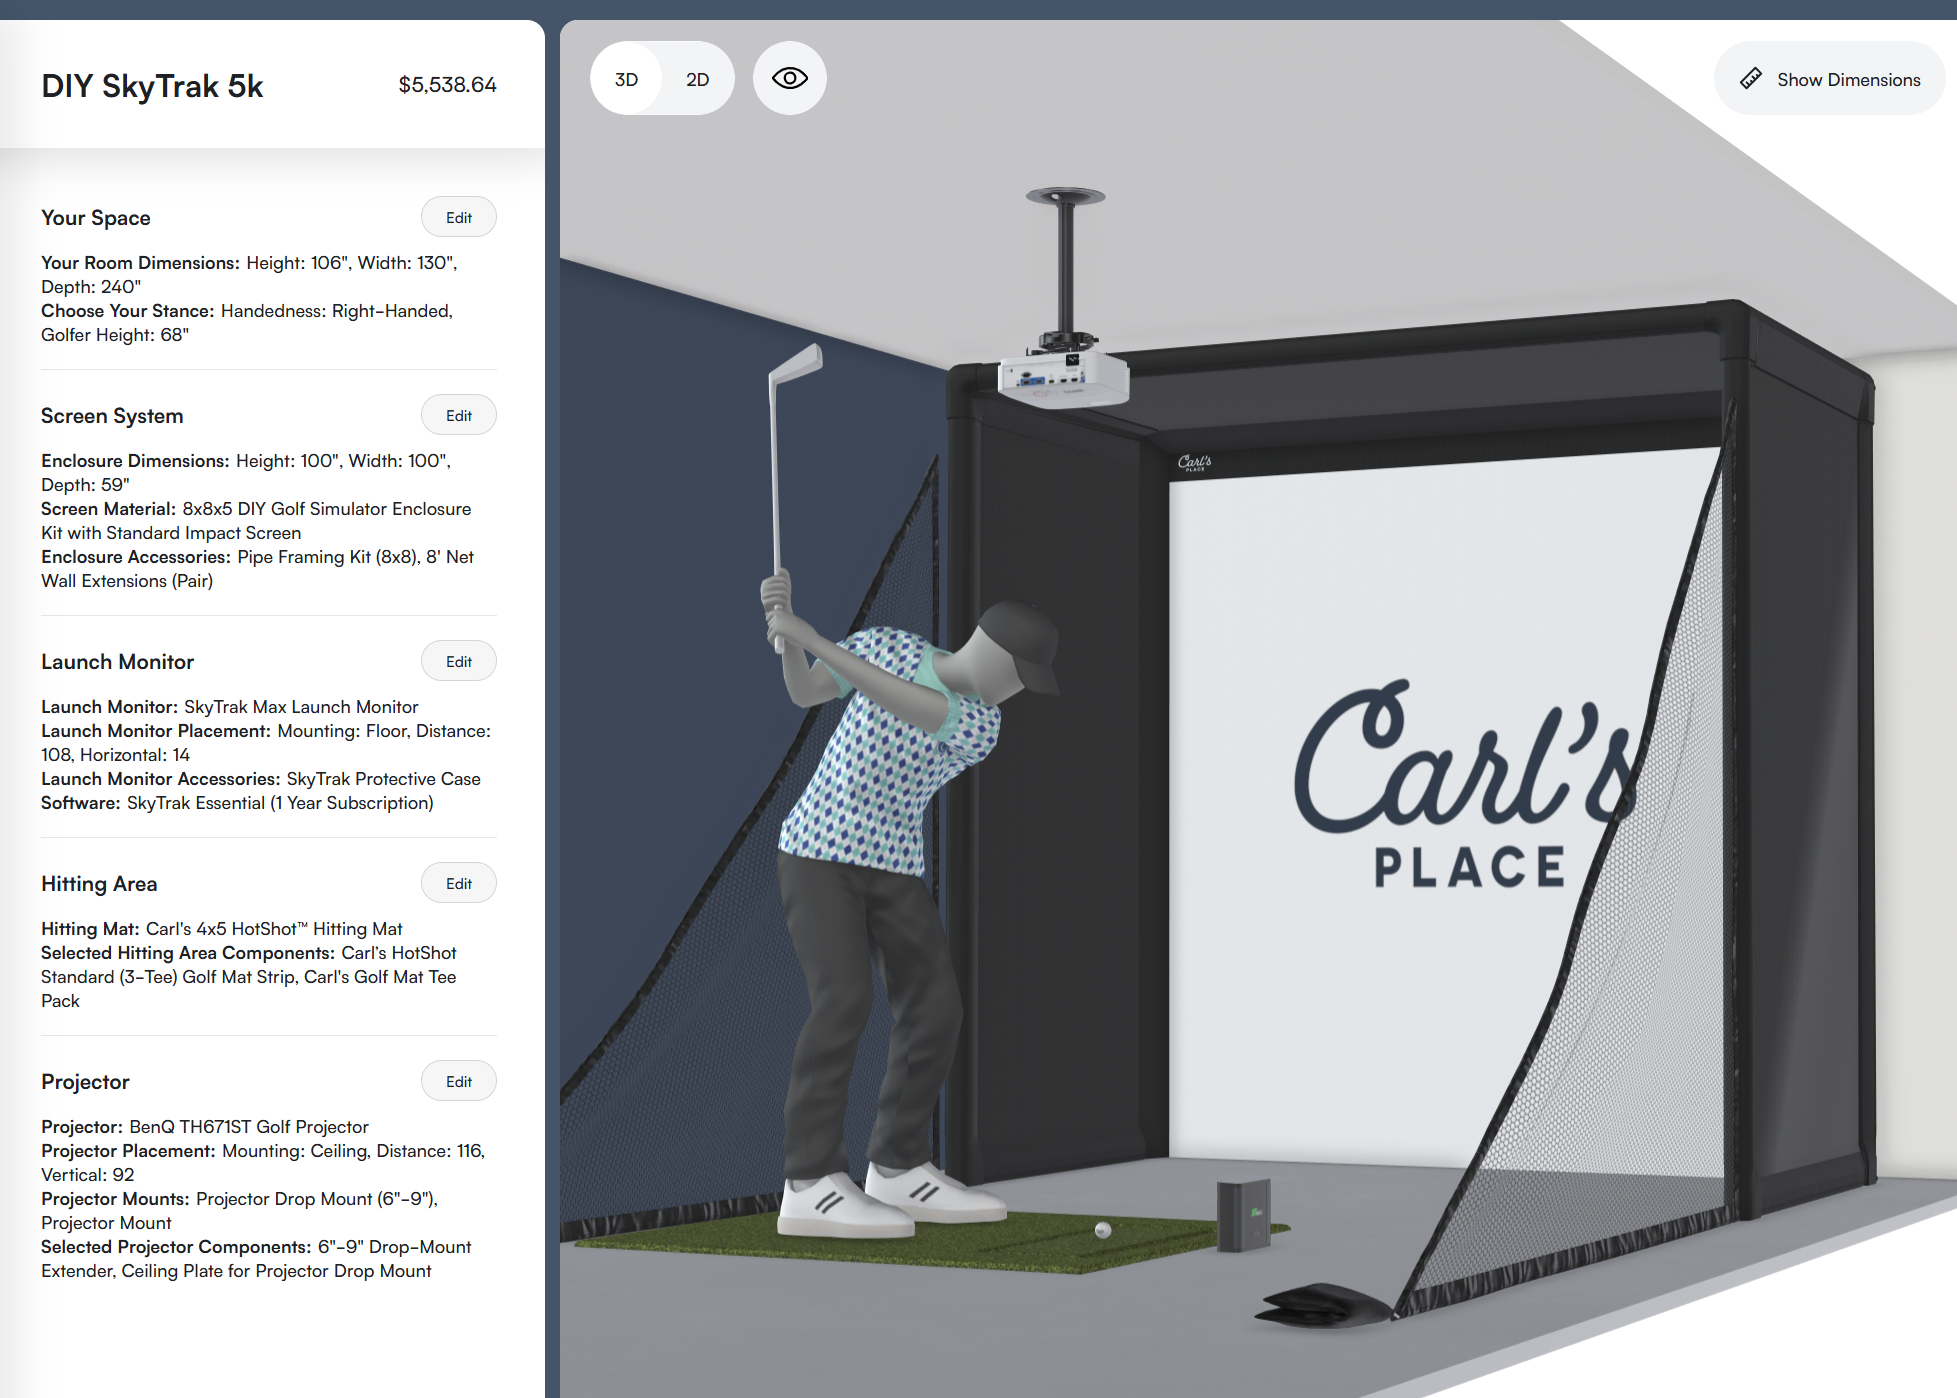
Best for Smaller Indoor Spaces:
DIY Enclosure with SkyTrak MAX
Three of these launch monitors sit behind the ball. SkyTrak MAX sits beside it. If you have room to swing but can't give up floor space behind the tee for radar, that difference may decide which build works for you.
We used an 8x8 DIY enclosure with a Standard Impact Screen, pipe kit and a pair of net wall extensions. The build also has a SkyTrak protective case, a 4x5 HotShot mat, one year of SkyTrak Essential membership, and a BenQ TH671ST projector with a ceiling mount. The net extensions add protection around a compact hitting area.
Tradeoff: Went a little over the $5k budget to get the SkyTrak Max and software. Essential software has practice features, but check the current SkyTrak membership options if you want course play.
Saved build total*: $5,539
What the Prices Cover
*These are rounded totals from saved Build Your Own configurations in September 2026. Prices and product selections can change. Open each build for its current total. The examples do not include installation, room construction, or a computer unless one appears in the saved build. Software memberships and subscriptions may add ongoing costs. A screen-only build also needs a suitable way to mount the screen and protect the surrounding area.
Which $5,000 Golf Simulator Would You Build?
If the launch monitor is going to the driving range with you, the Mevo Gen2 build spends more on practice data. If you want to run the sim from your phone or tablet, look at Rapsodo. The Garmin build puts the money into a room you can keep improving, while the SkyTrak MAX build makes sense when space behind the tee is hard to find.
Start with the one that fits how you'll use it. Then open the saved build, enter your room dimensions and change the parts until the setup and price work for you.

Search articles by tag:
Golf Impact Screens ResourcesRelated Posts
Golf Impact Screens, Golf Simulators, Resources
Do I Need to Hire a Golf Room Designer?

Golf Impact Screens, Resources
Building the Ultimate $20K Golf Simulator

Golf Impact Screens, DIY Golf Enclosures, Golf Simulators, Resources, PRO Golf Enclosures
$10k Budget Golf Simulator Setup Ideas